Designing the pattern
After watching the lecture, I was really excited about tessellation and I've watched a lot of designs inspired by that. So, the first step of my process was to find a nice shape that I can fit one beside the other but can also become a recognizable form. Then, I saw a drawing of a diamond seen from the top and I thought that when simplified, it would be a very nice idea. I went for it.
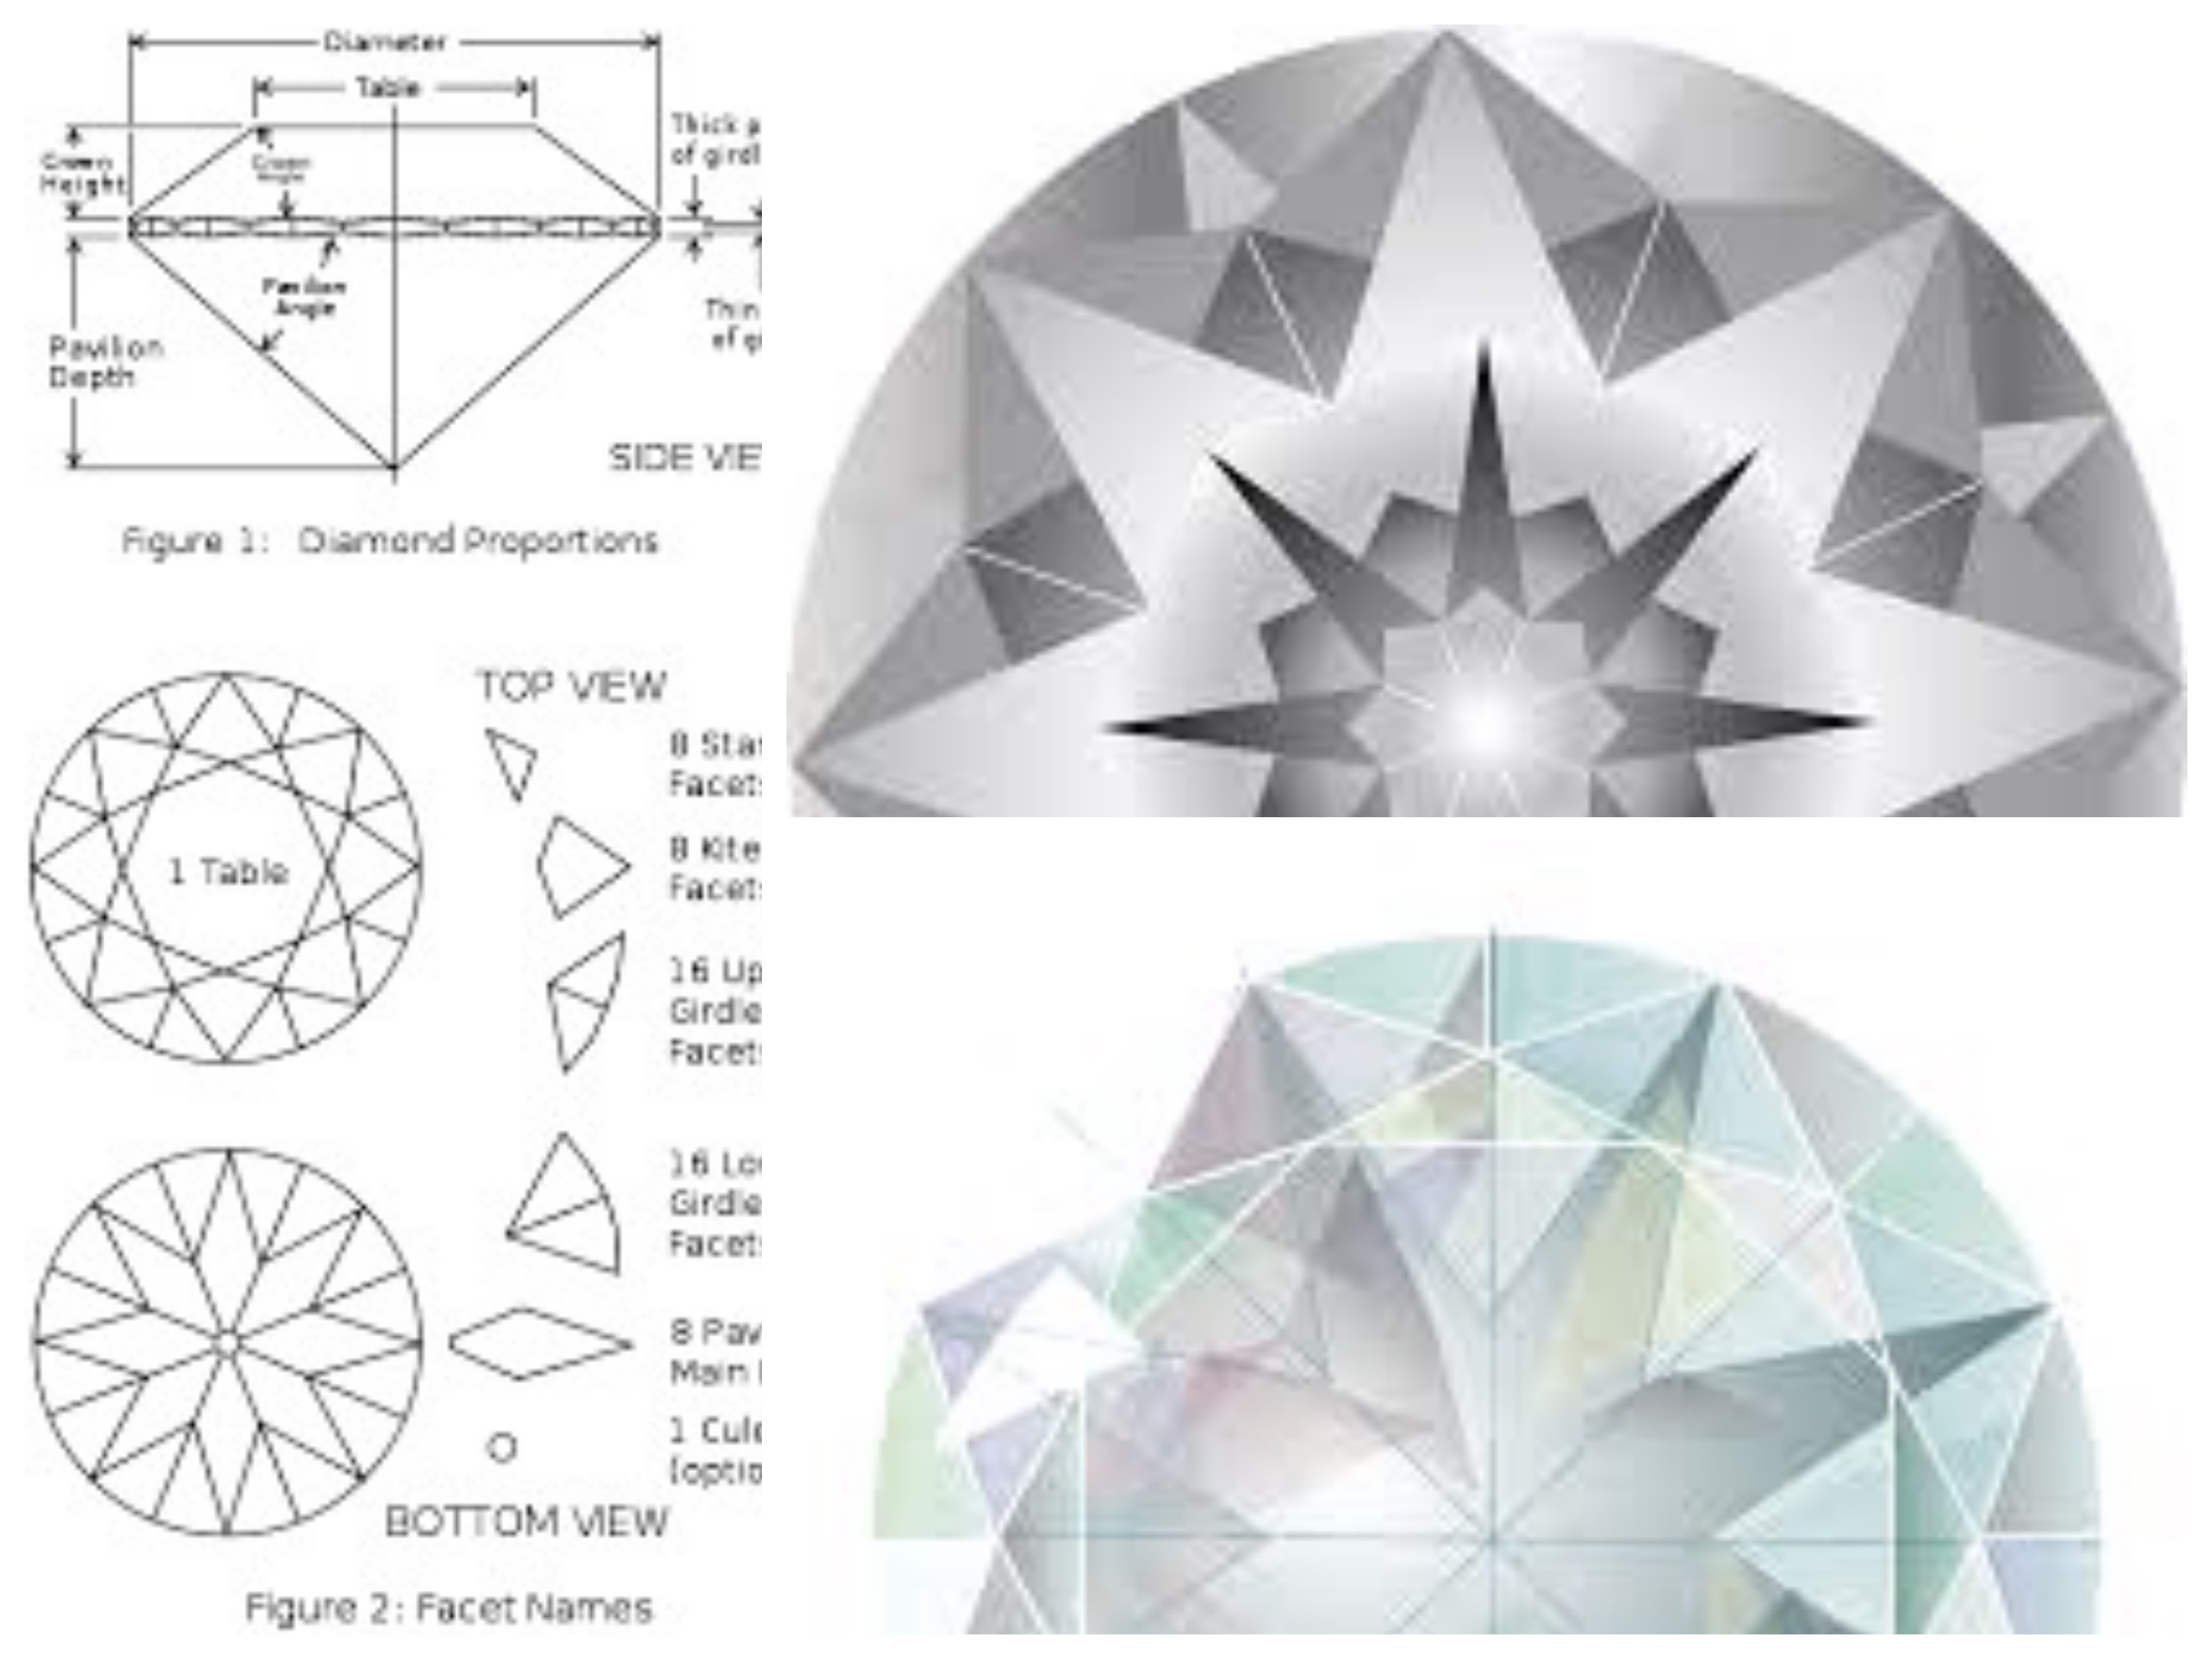
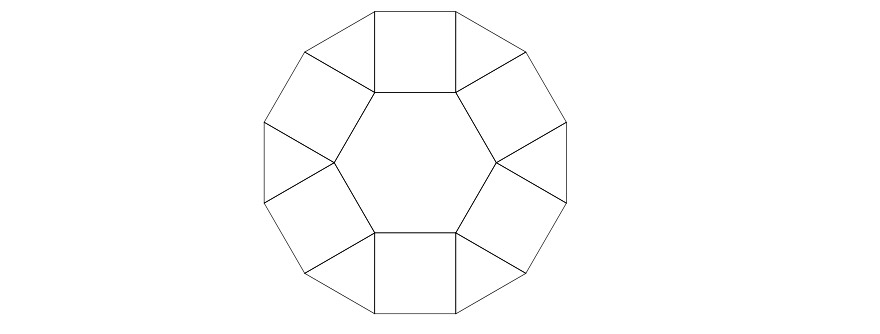
The first step was to simplify the composition of the shape to make a very minimalist diamond (A too complex one would be a pain in the ass when time to assemble). I didn't want to have about 25 pieces to make one module. In the lecture and in my research I saw a lot of hexagonal modular shapes. Also, Zoe advised us to begin with polygons so I thought it would be a good starting point. I came with that one that seamed the simplest (13 pieces) to me and also was adding other simple shapes like squares and triangles to the complete module.
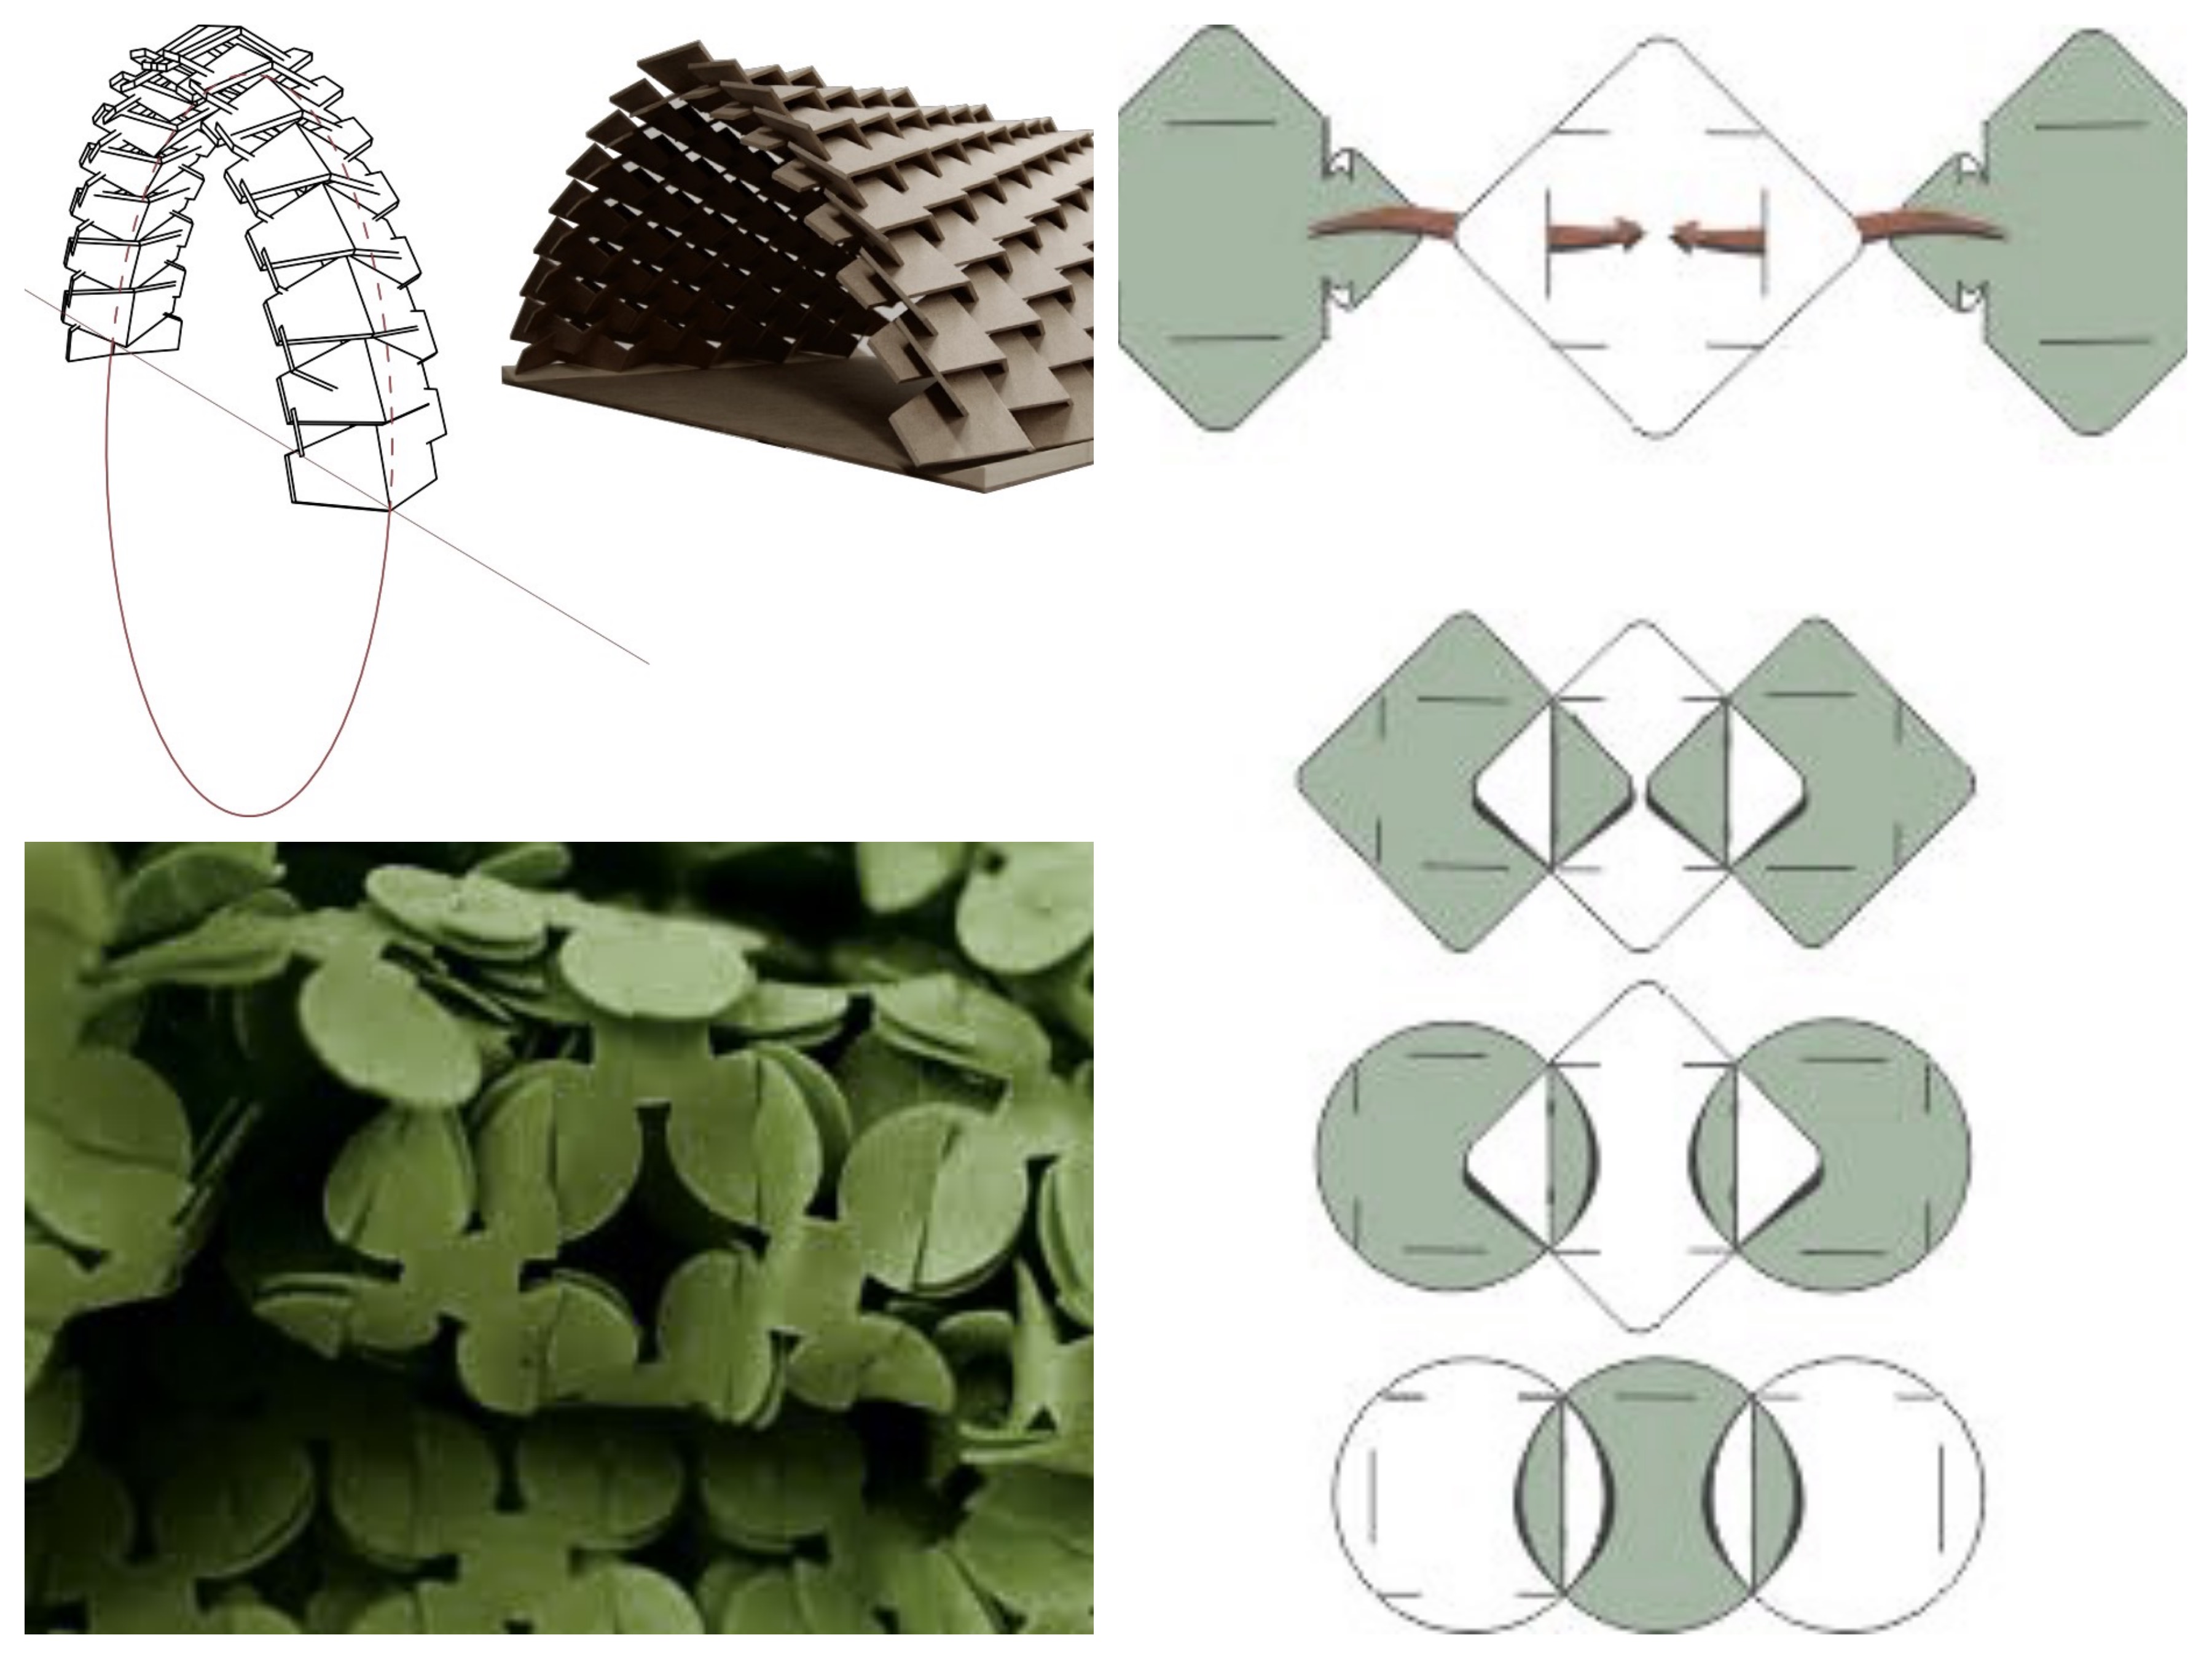
Then, I needed to design a way for the pieces to connect. I remember very well the cousin on the chairs at Fab13! And I also looked on the Internet for other inspiration. Here's some inspiration I came with.
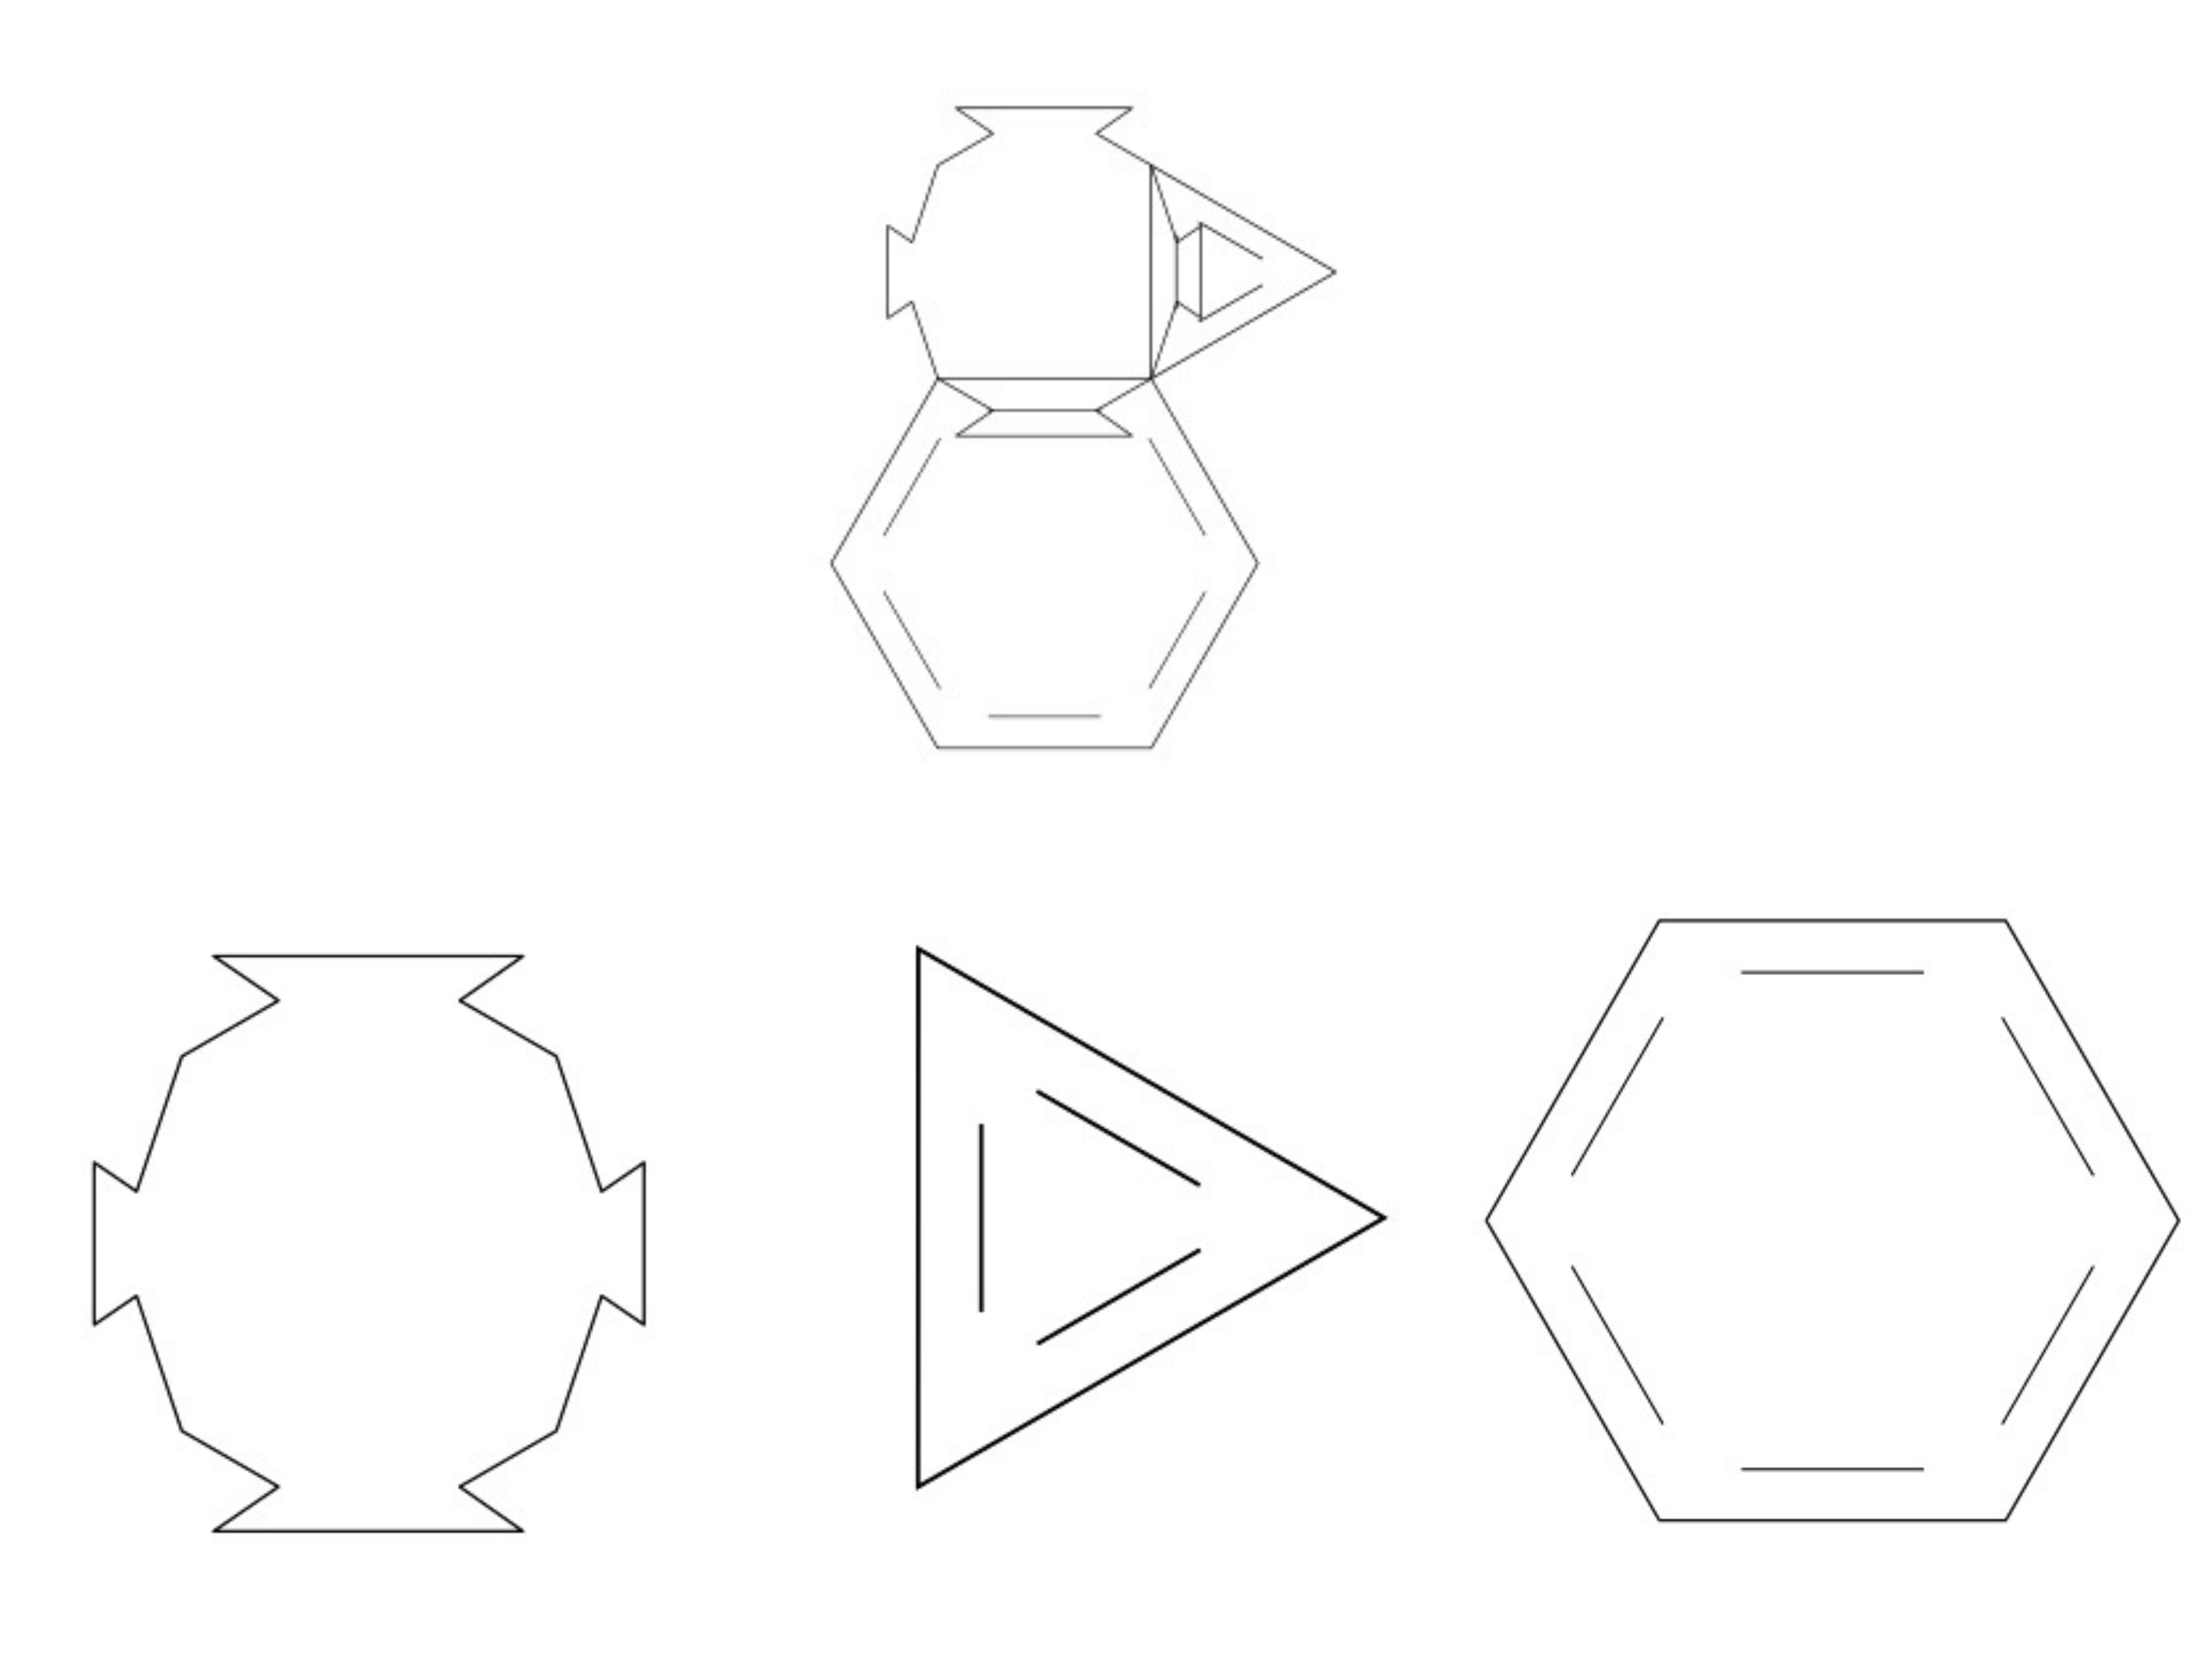
Then, with Inkscape, I transformed the geometric shapes so they can connect to each other. To make it work, I needed two female parts and one male part that'll connect the other together.
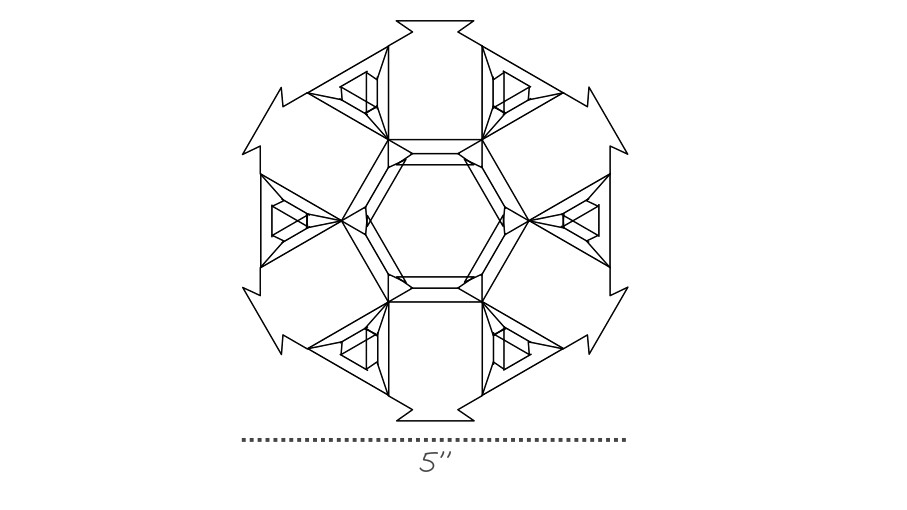
I also thought that all togheter it looked nice. Again, with the idea of not doing to small module, that would be very weak at the end,
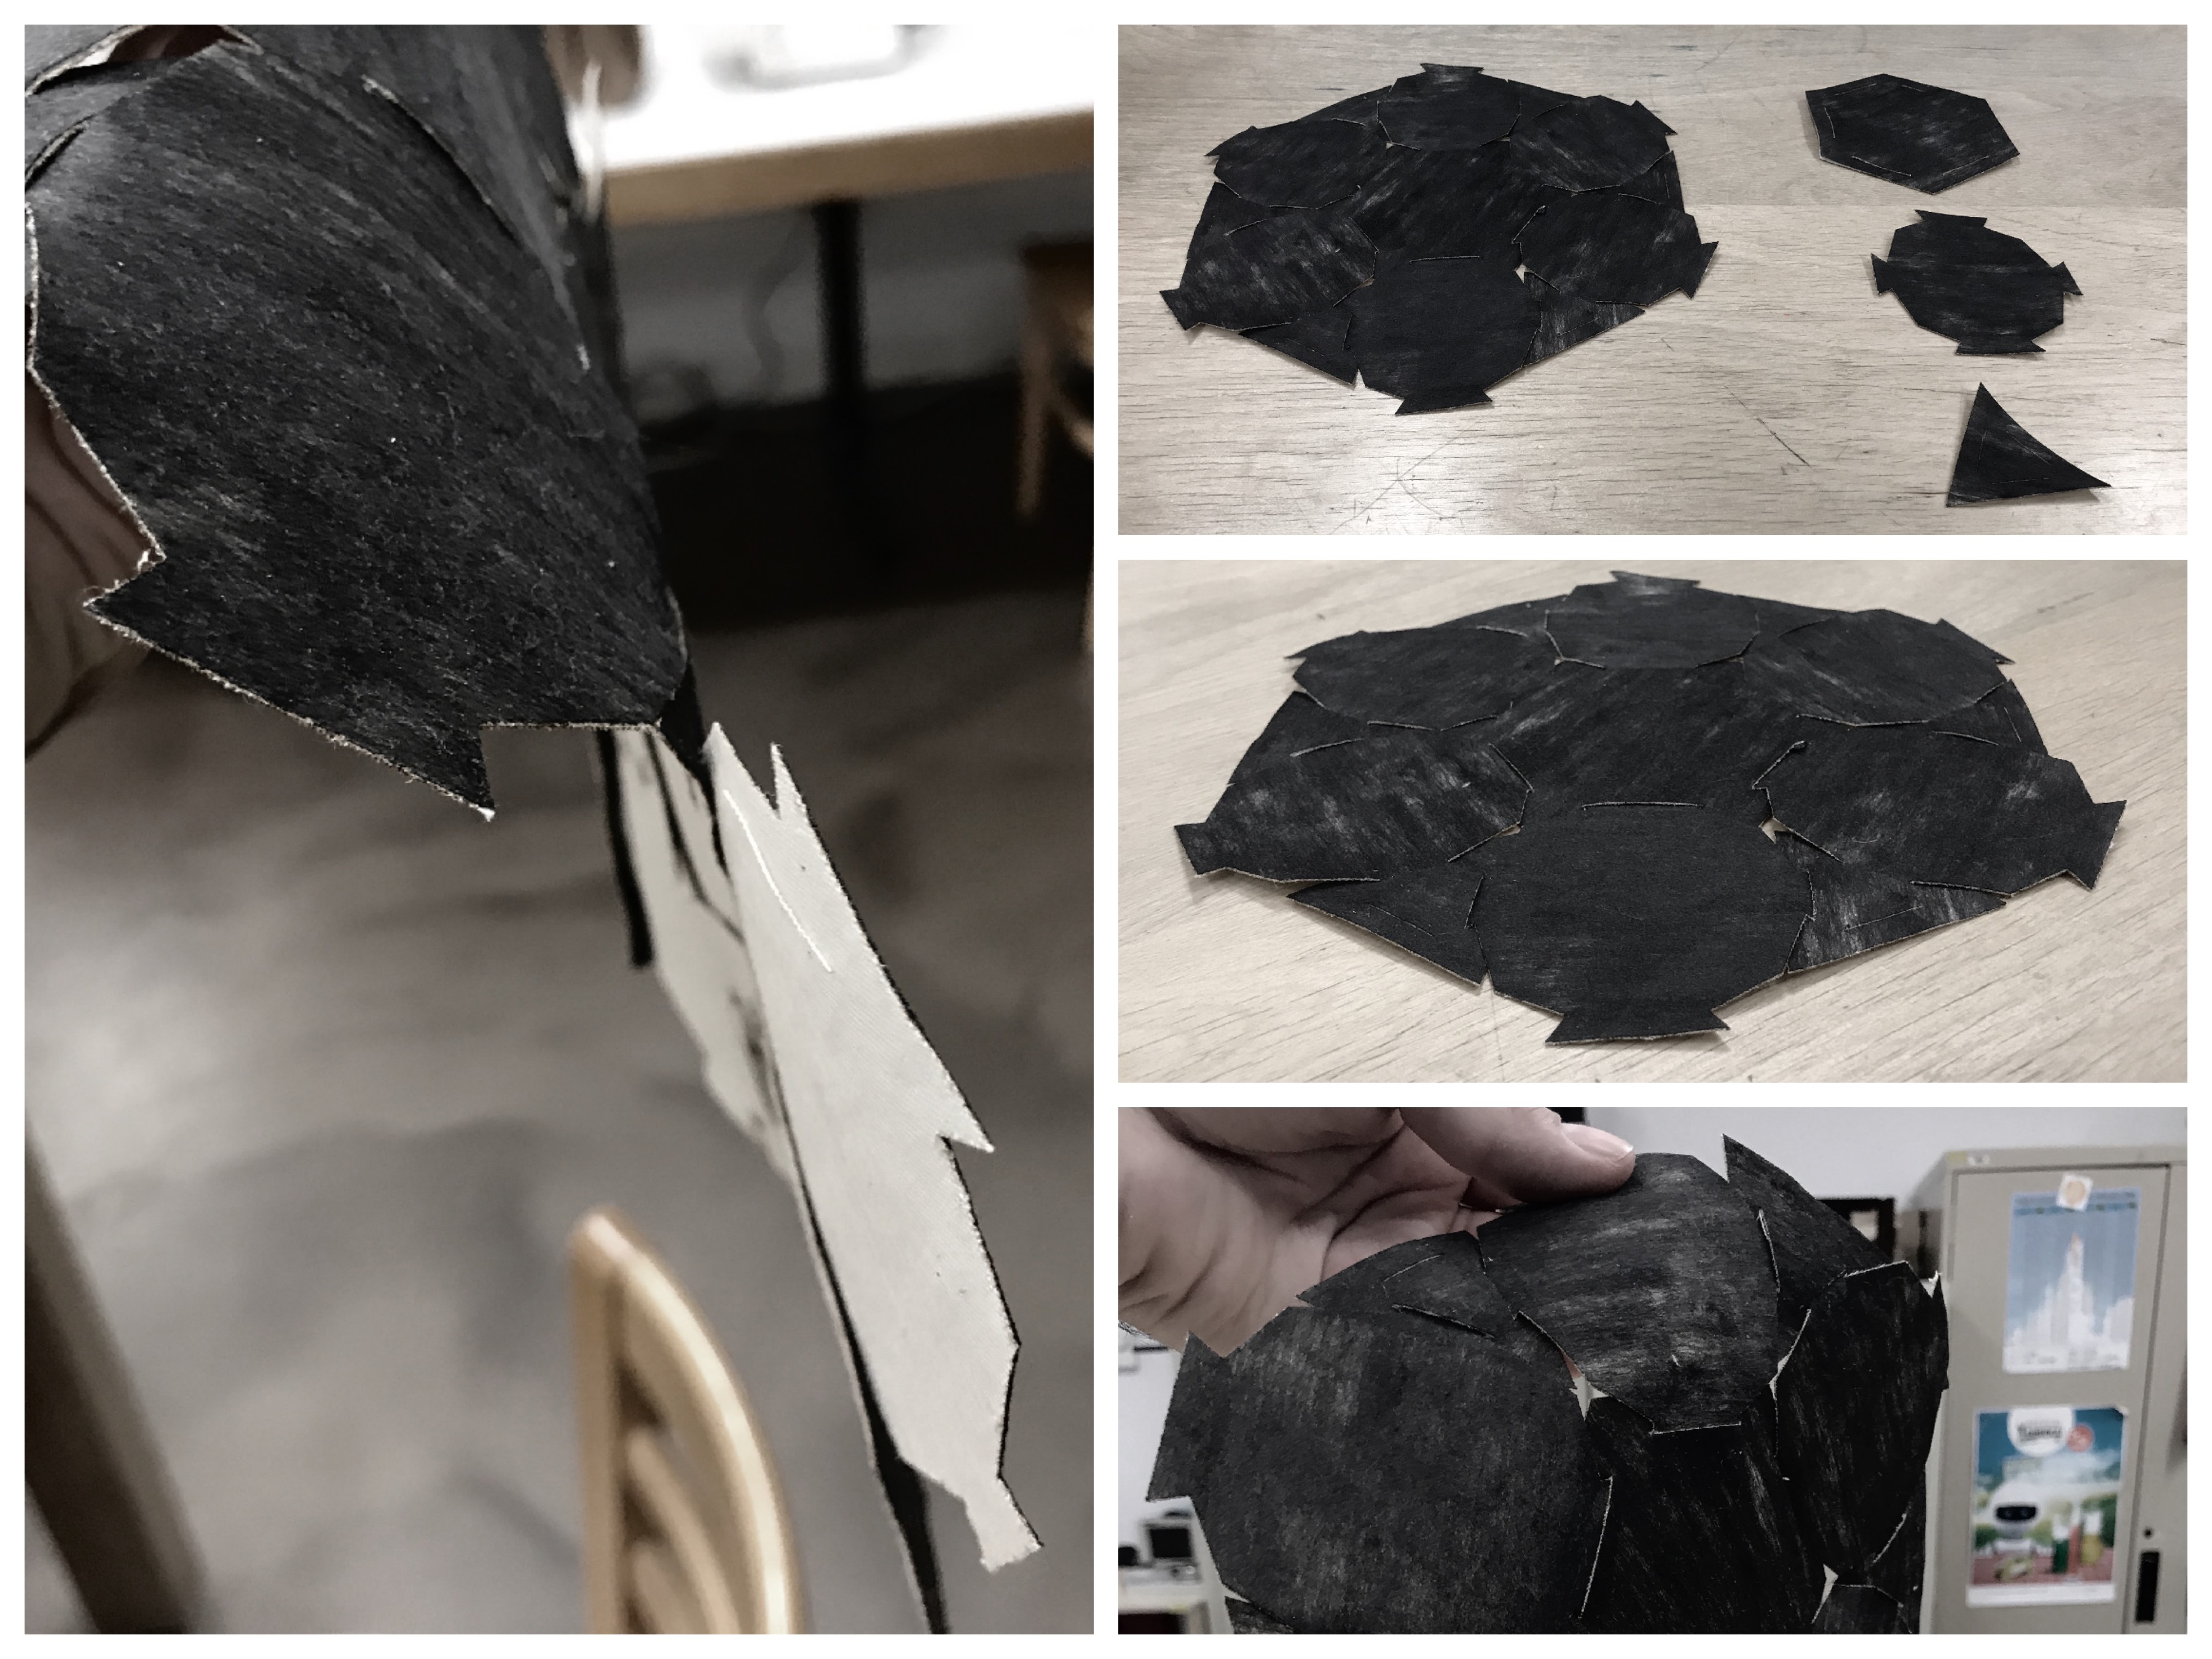
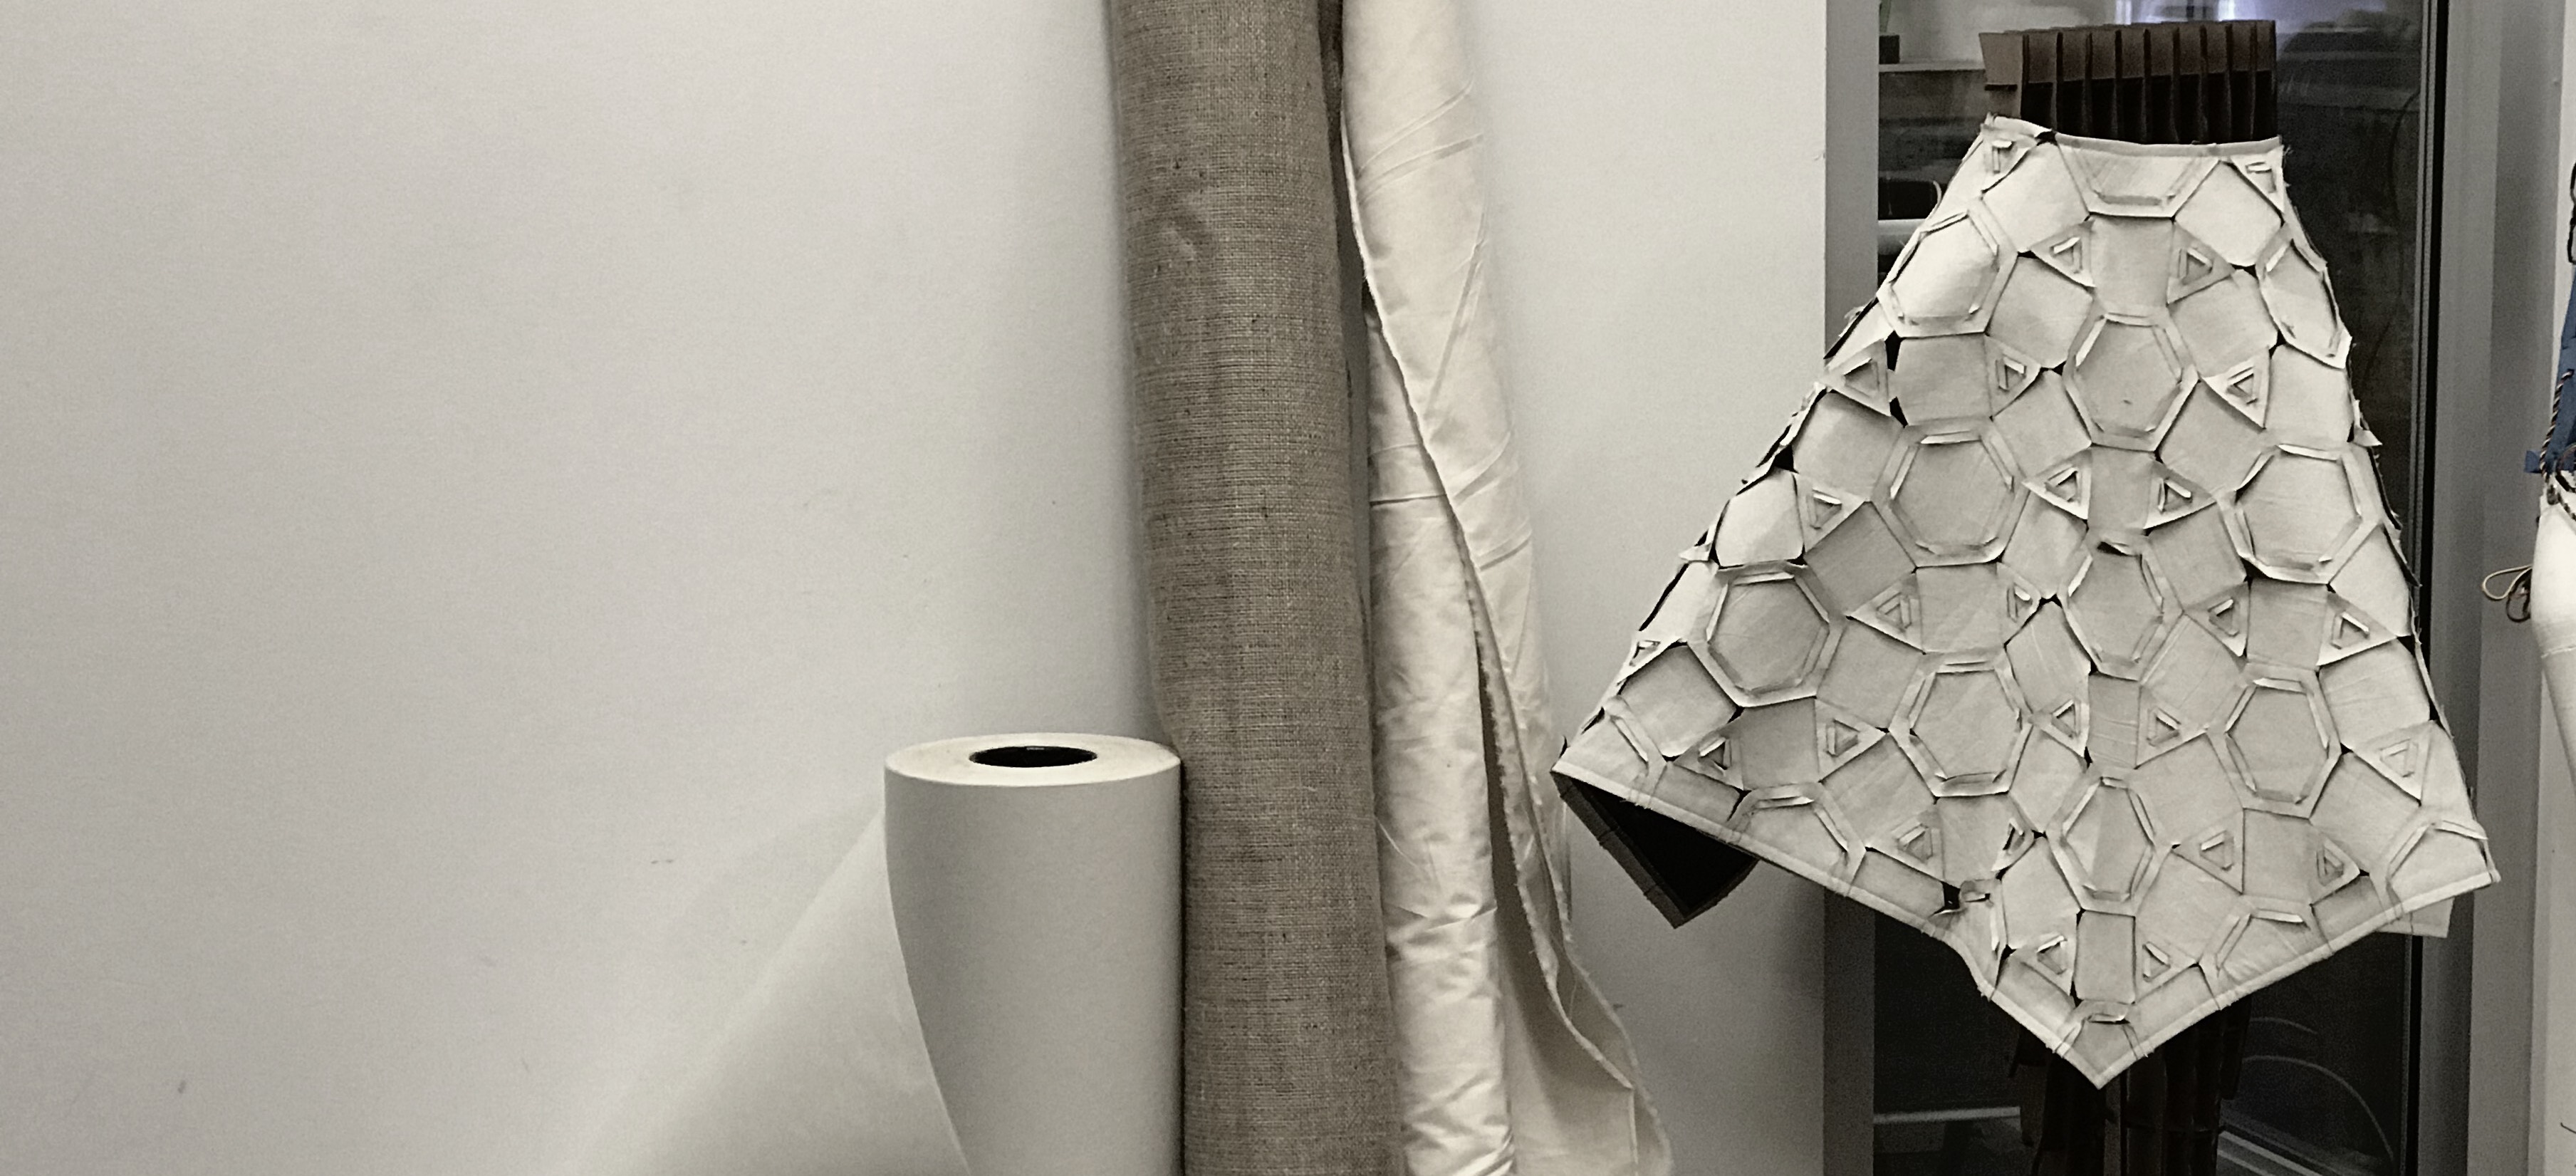
At the end, the module made with prototyping cotton was way to weak. The connections were good but the material is so soft that with a lot of manipulation it breaks apart. But well, prototyping cotton is definitely not the end material so I still had to investigate on a real or final material. For this kind of modular design, I thought that wool would be the nicest fabric to use. as it is expansive, I just went to the thrift shop and bought a wool jacket. The one that I found was very nice: 40% wool, 30% lamb wool, 30% cashmere.
Be aware that cutting wool with a laser cutter smell like hell! Also, I wanted to make something with a very thick fabric so I made it myself. So, here a sketch of the composition of the material and the results.

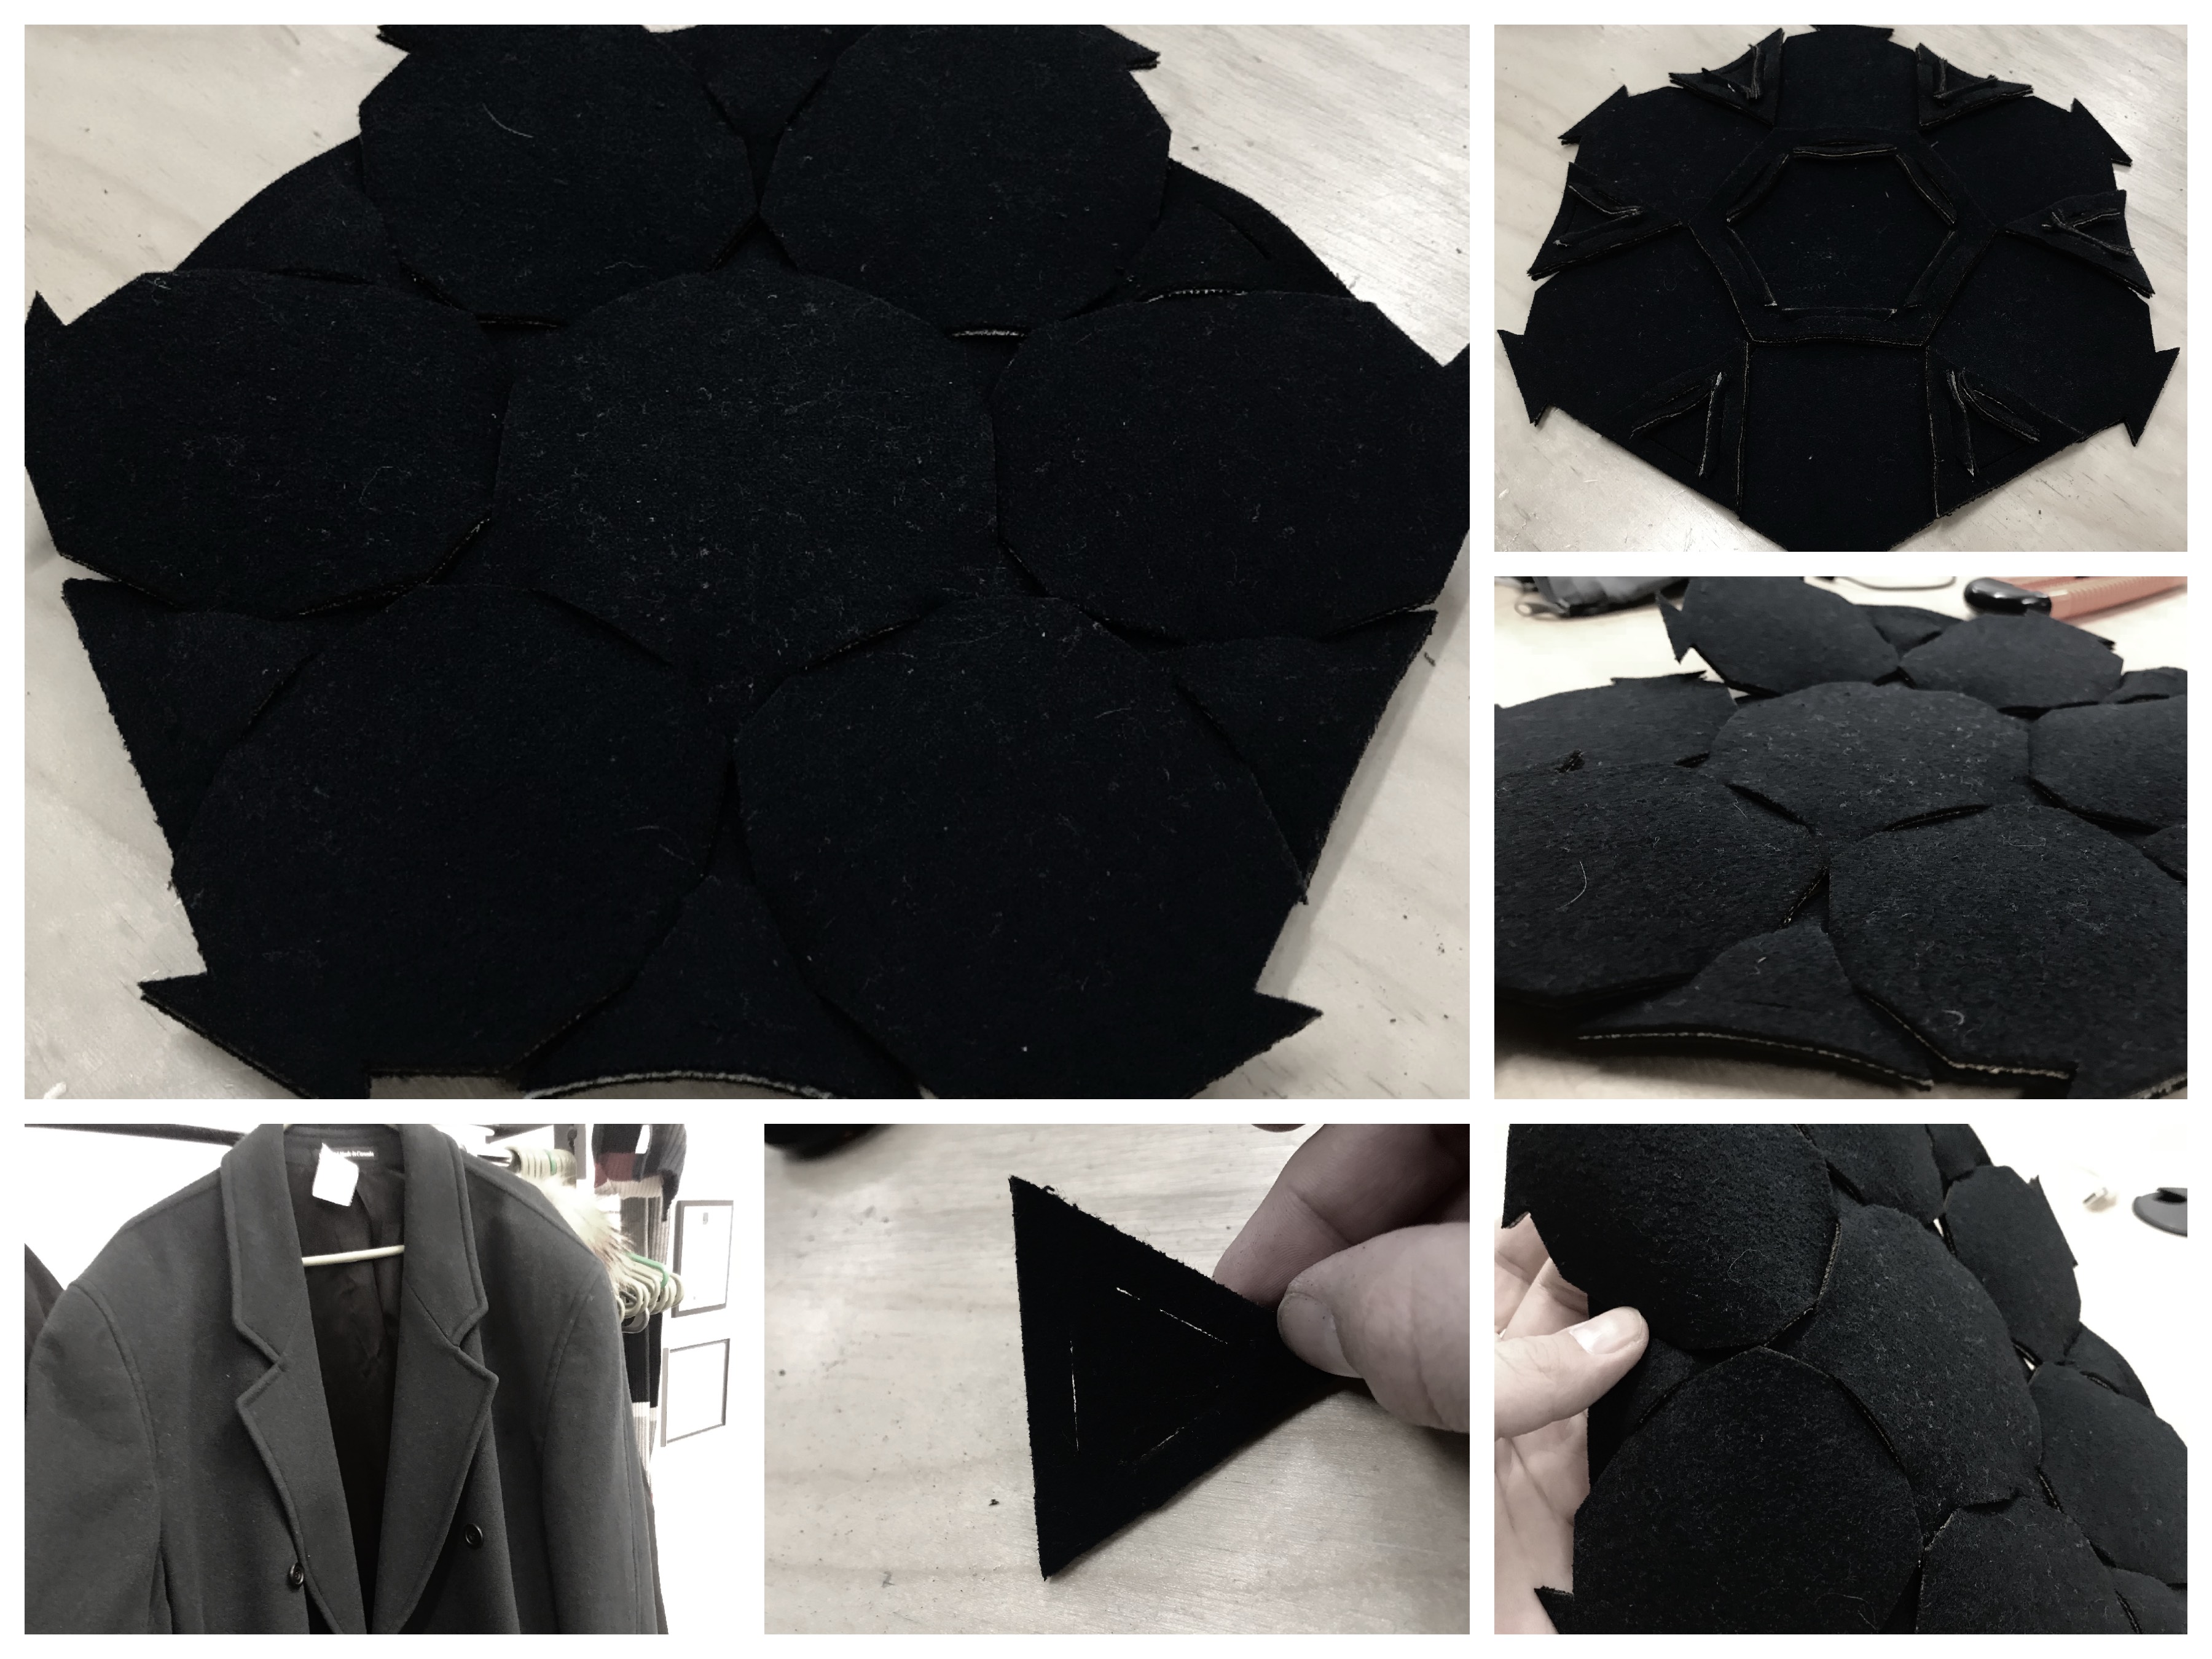
At this point, I was definitely satisfied with the look but also the strenght of the connections.
Further use
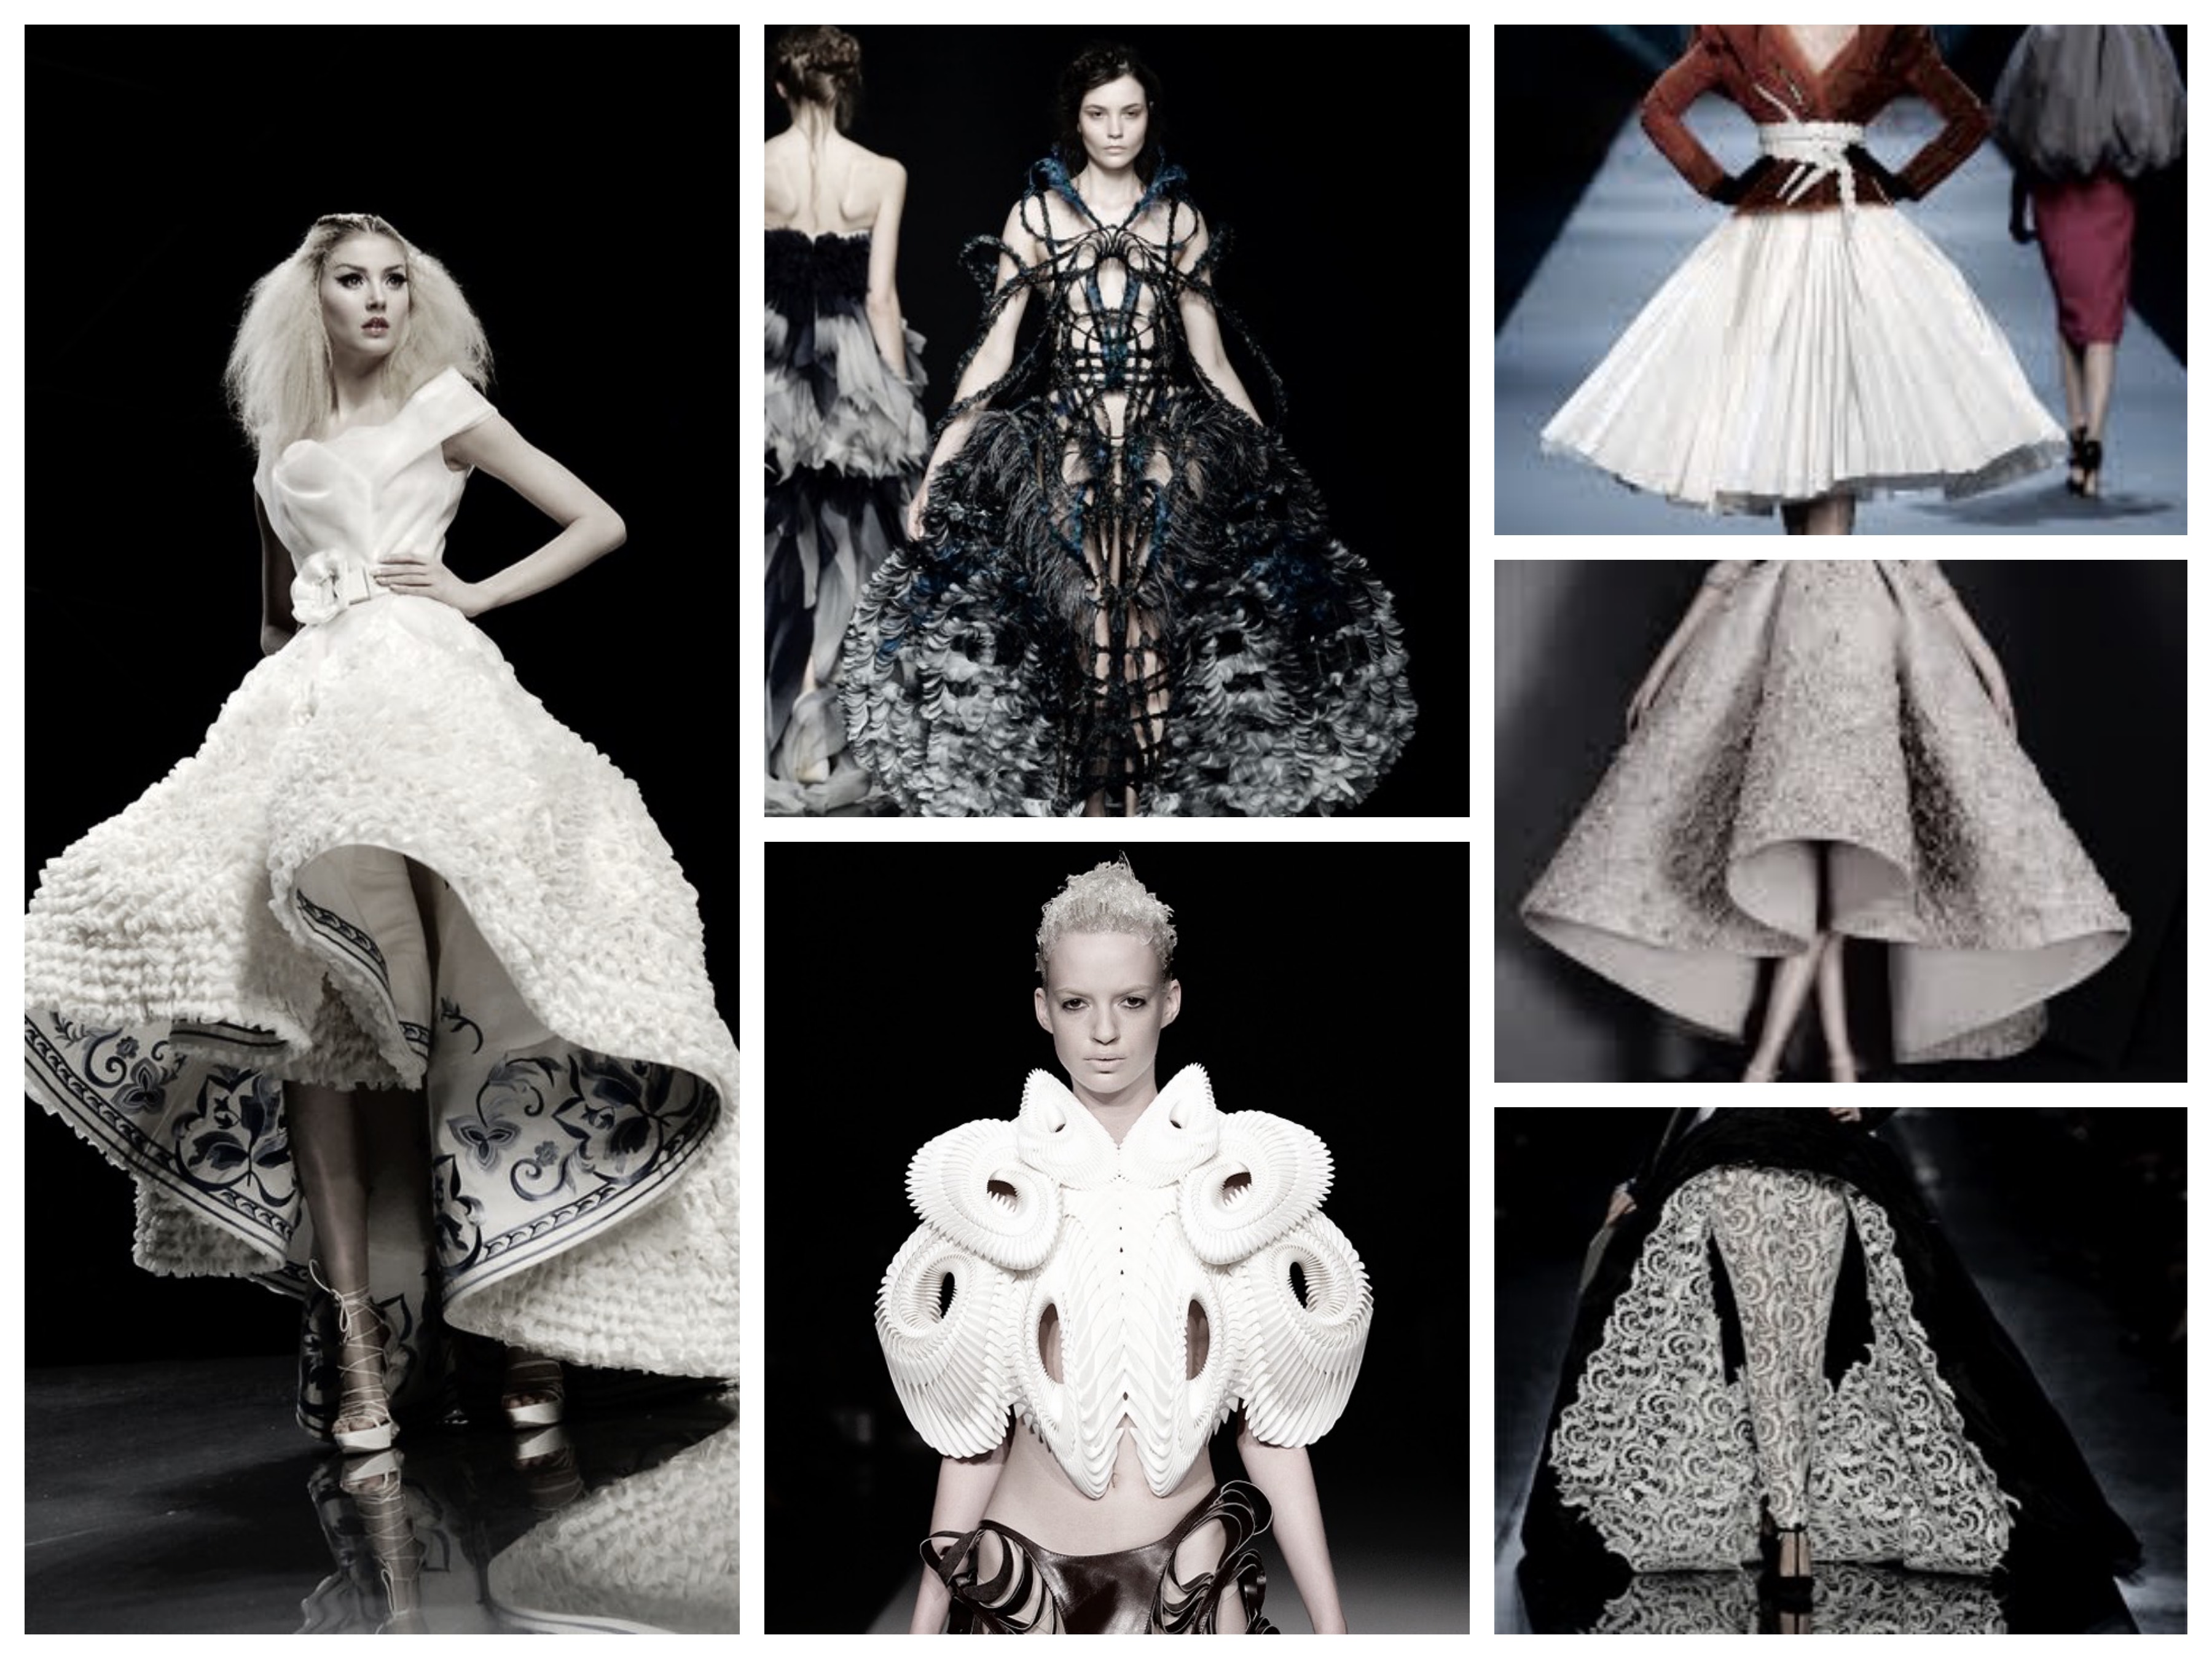
From that prototype, I decided to adapt the concept and integrate it into my final project. Continuing from the idea of make a circular skirt, I inspired myself form those couture skirts below and prepared a pattern myself. I also planned the whole thing with the composite textile that I presented before so it stays nice and firmly connected.
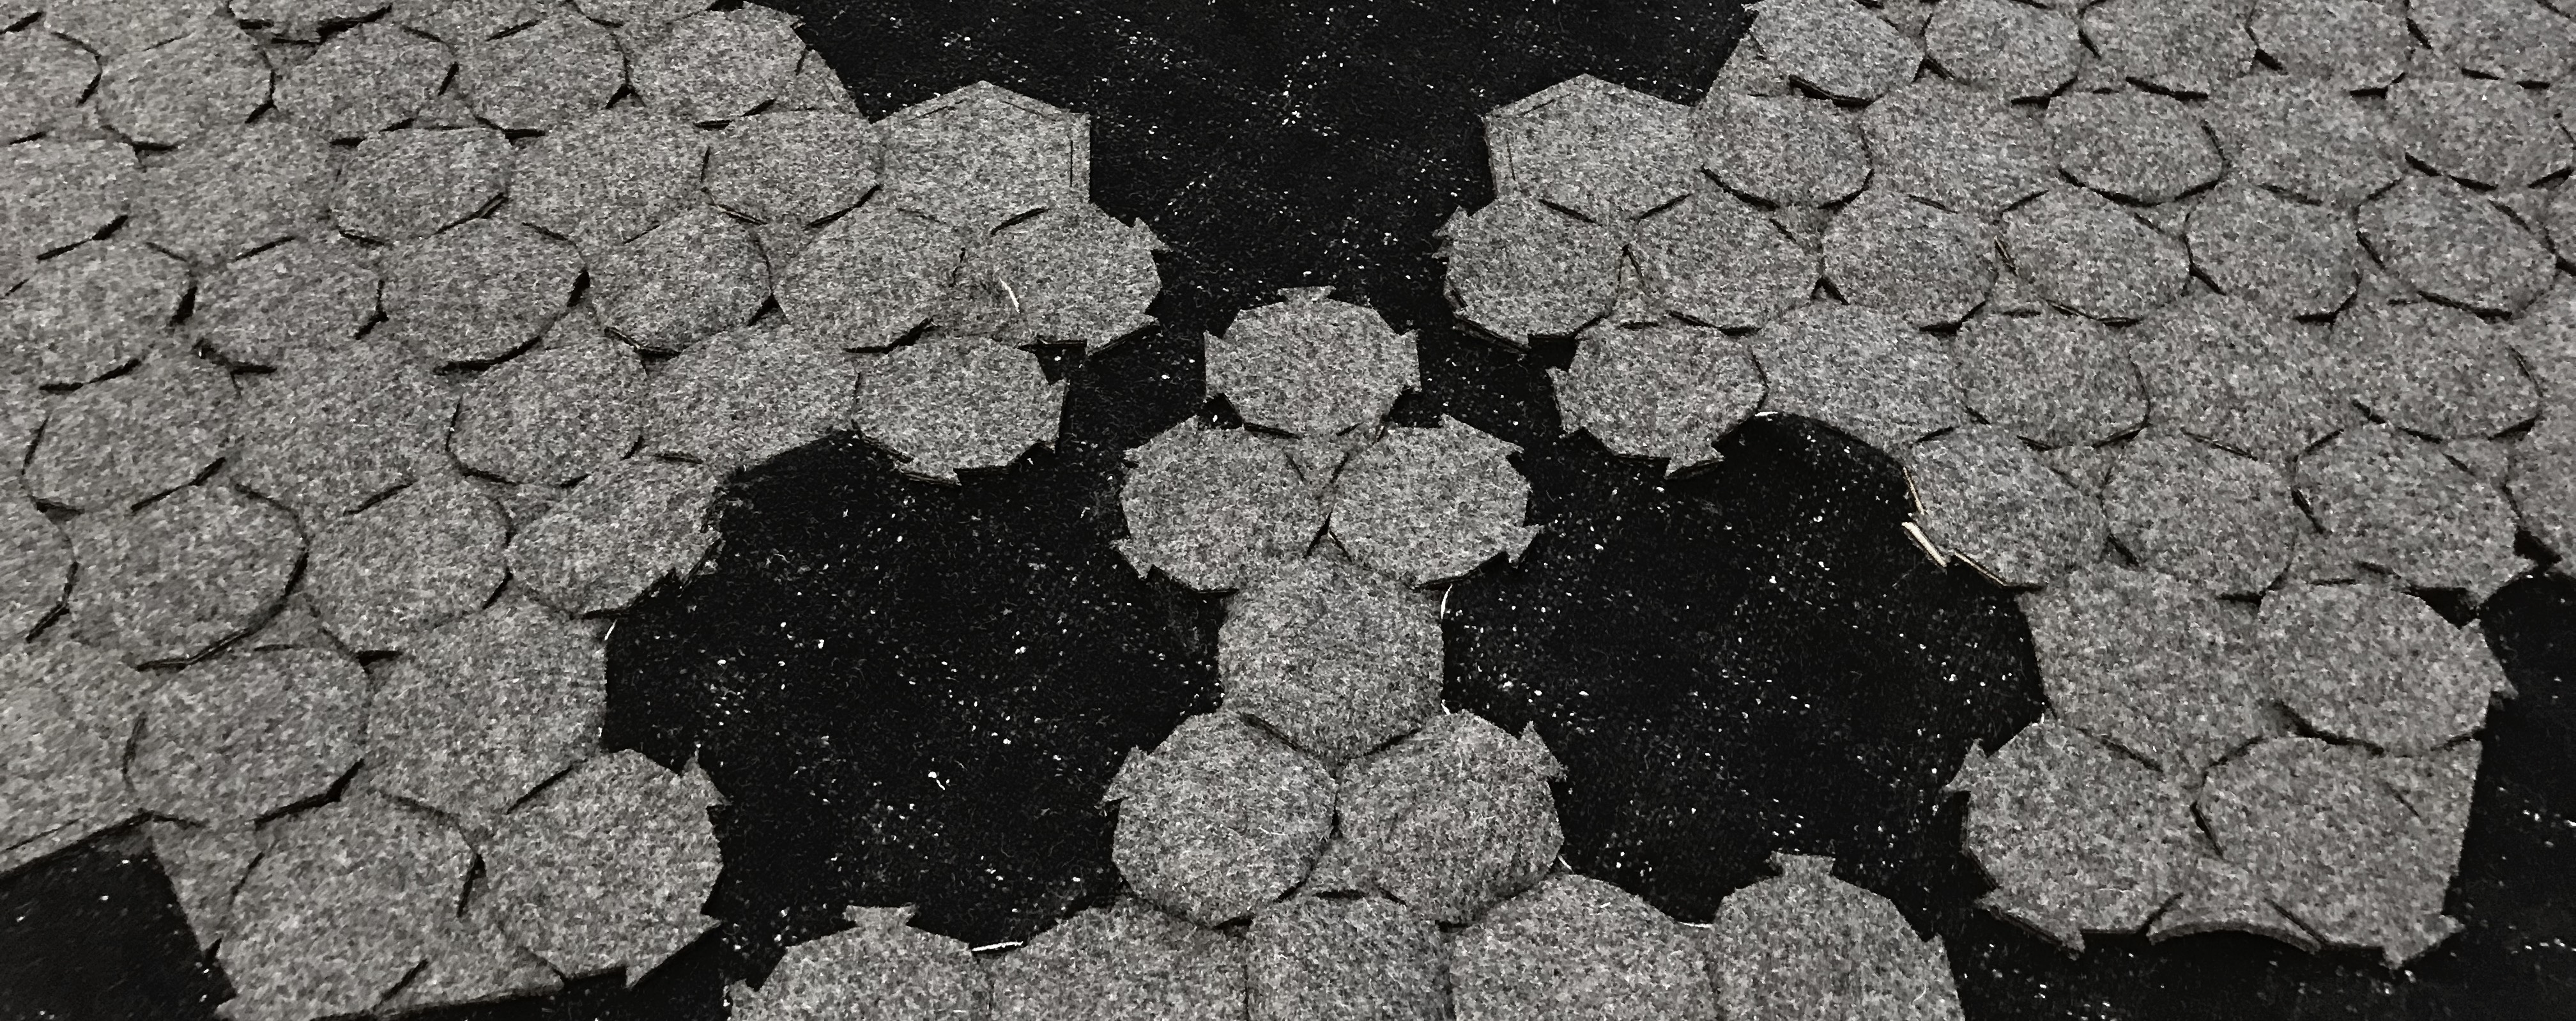
I also chose to inspire myself from bacteria growing pattern. Here's a peek. The rest of the documentation will be found on the final projects pages.
The guide
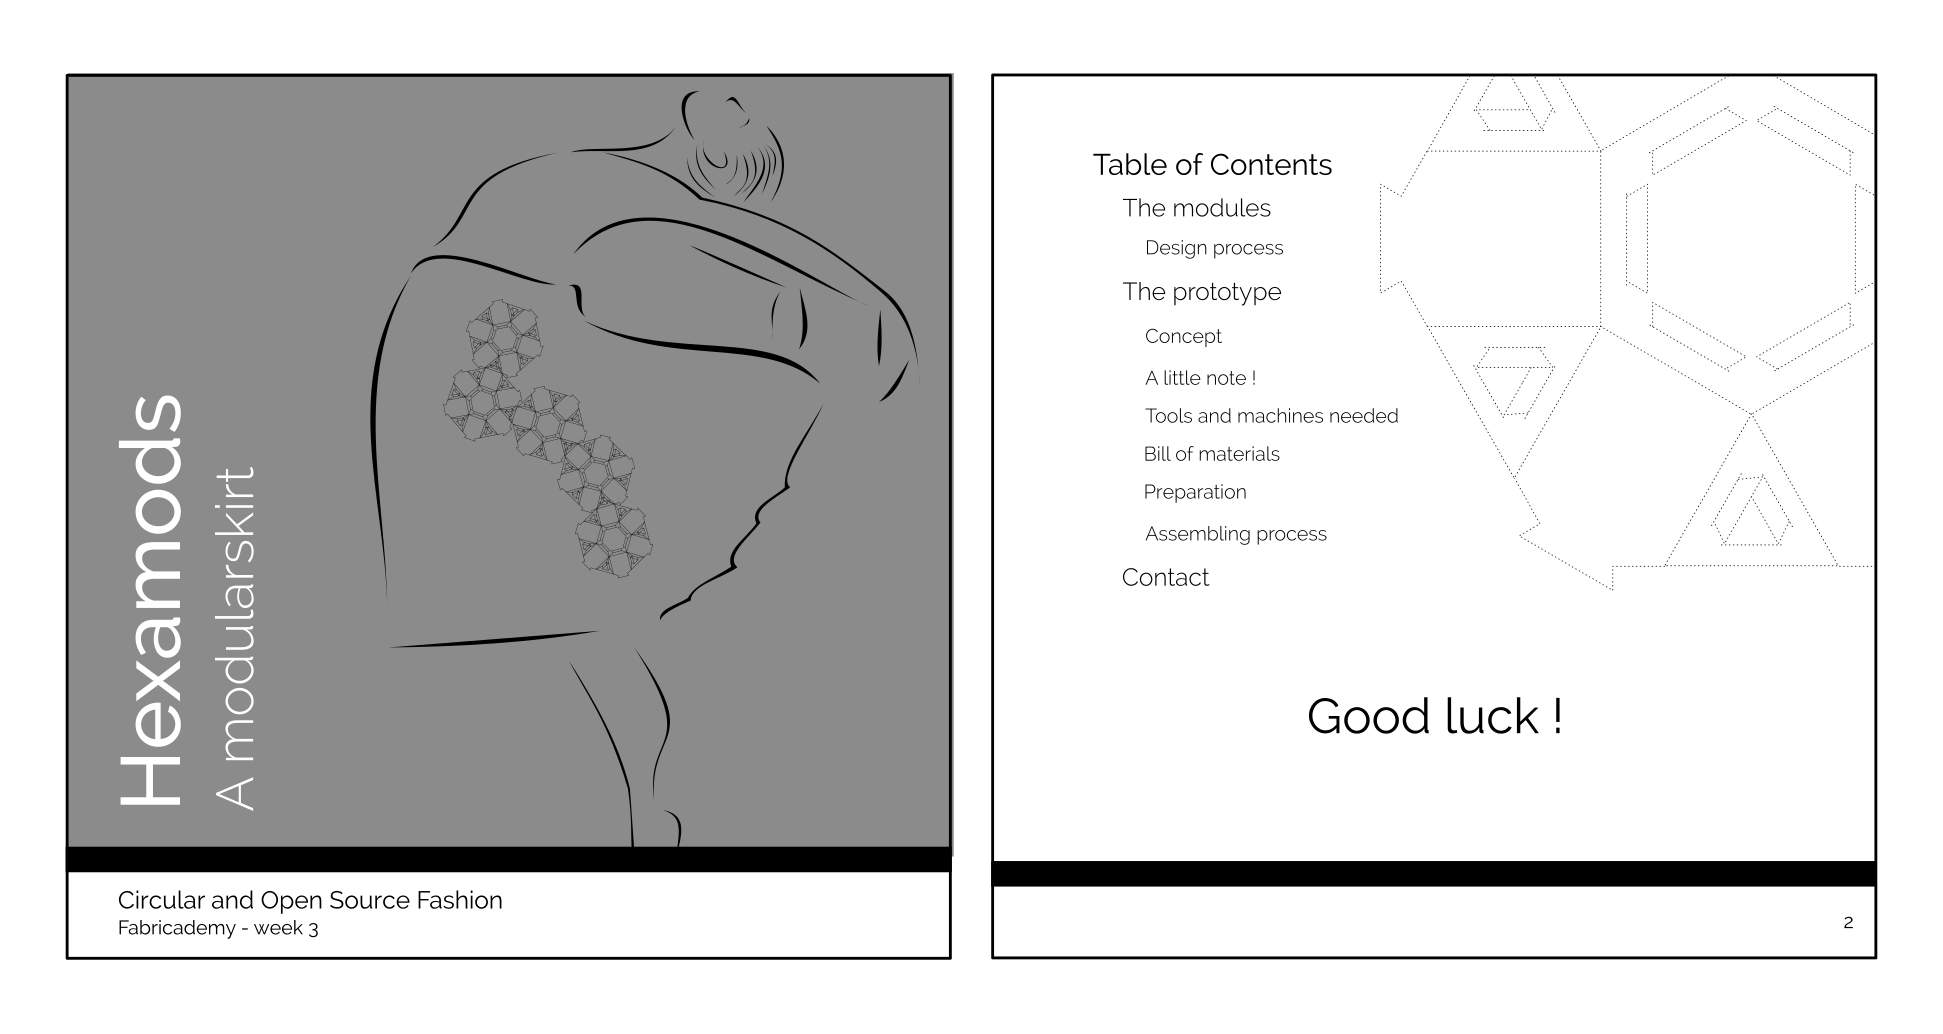
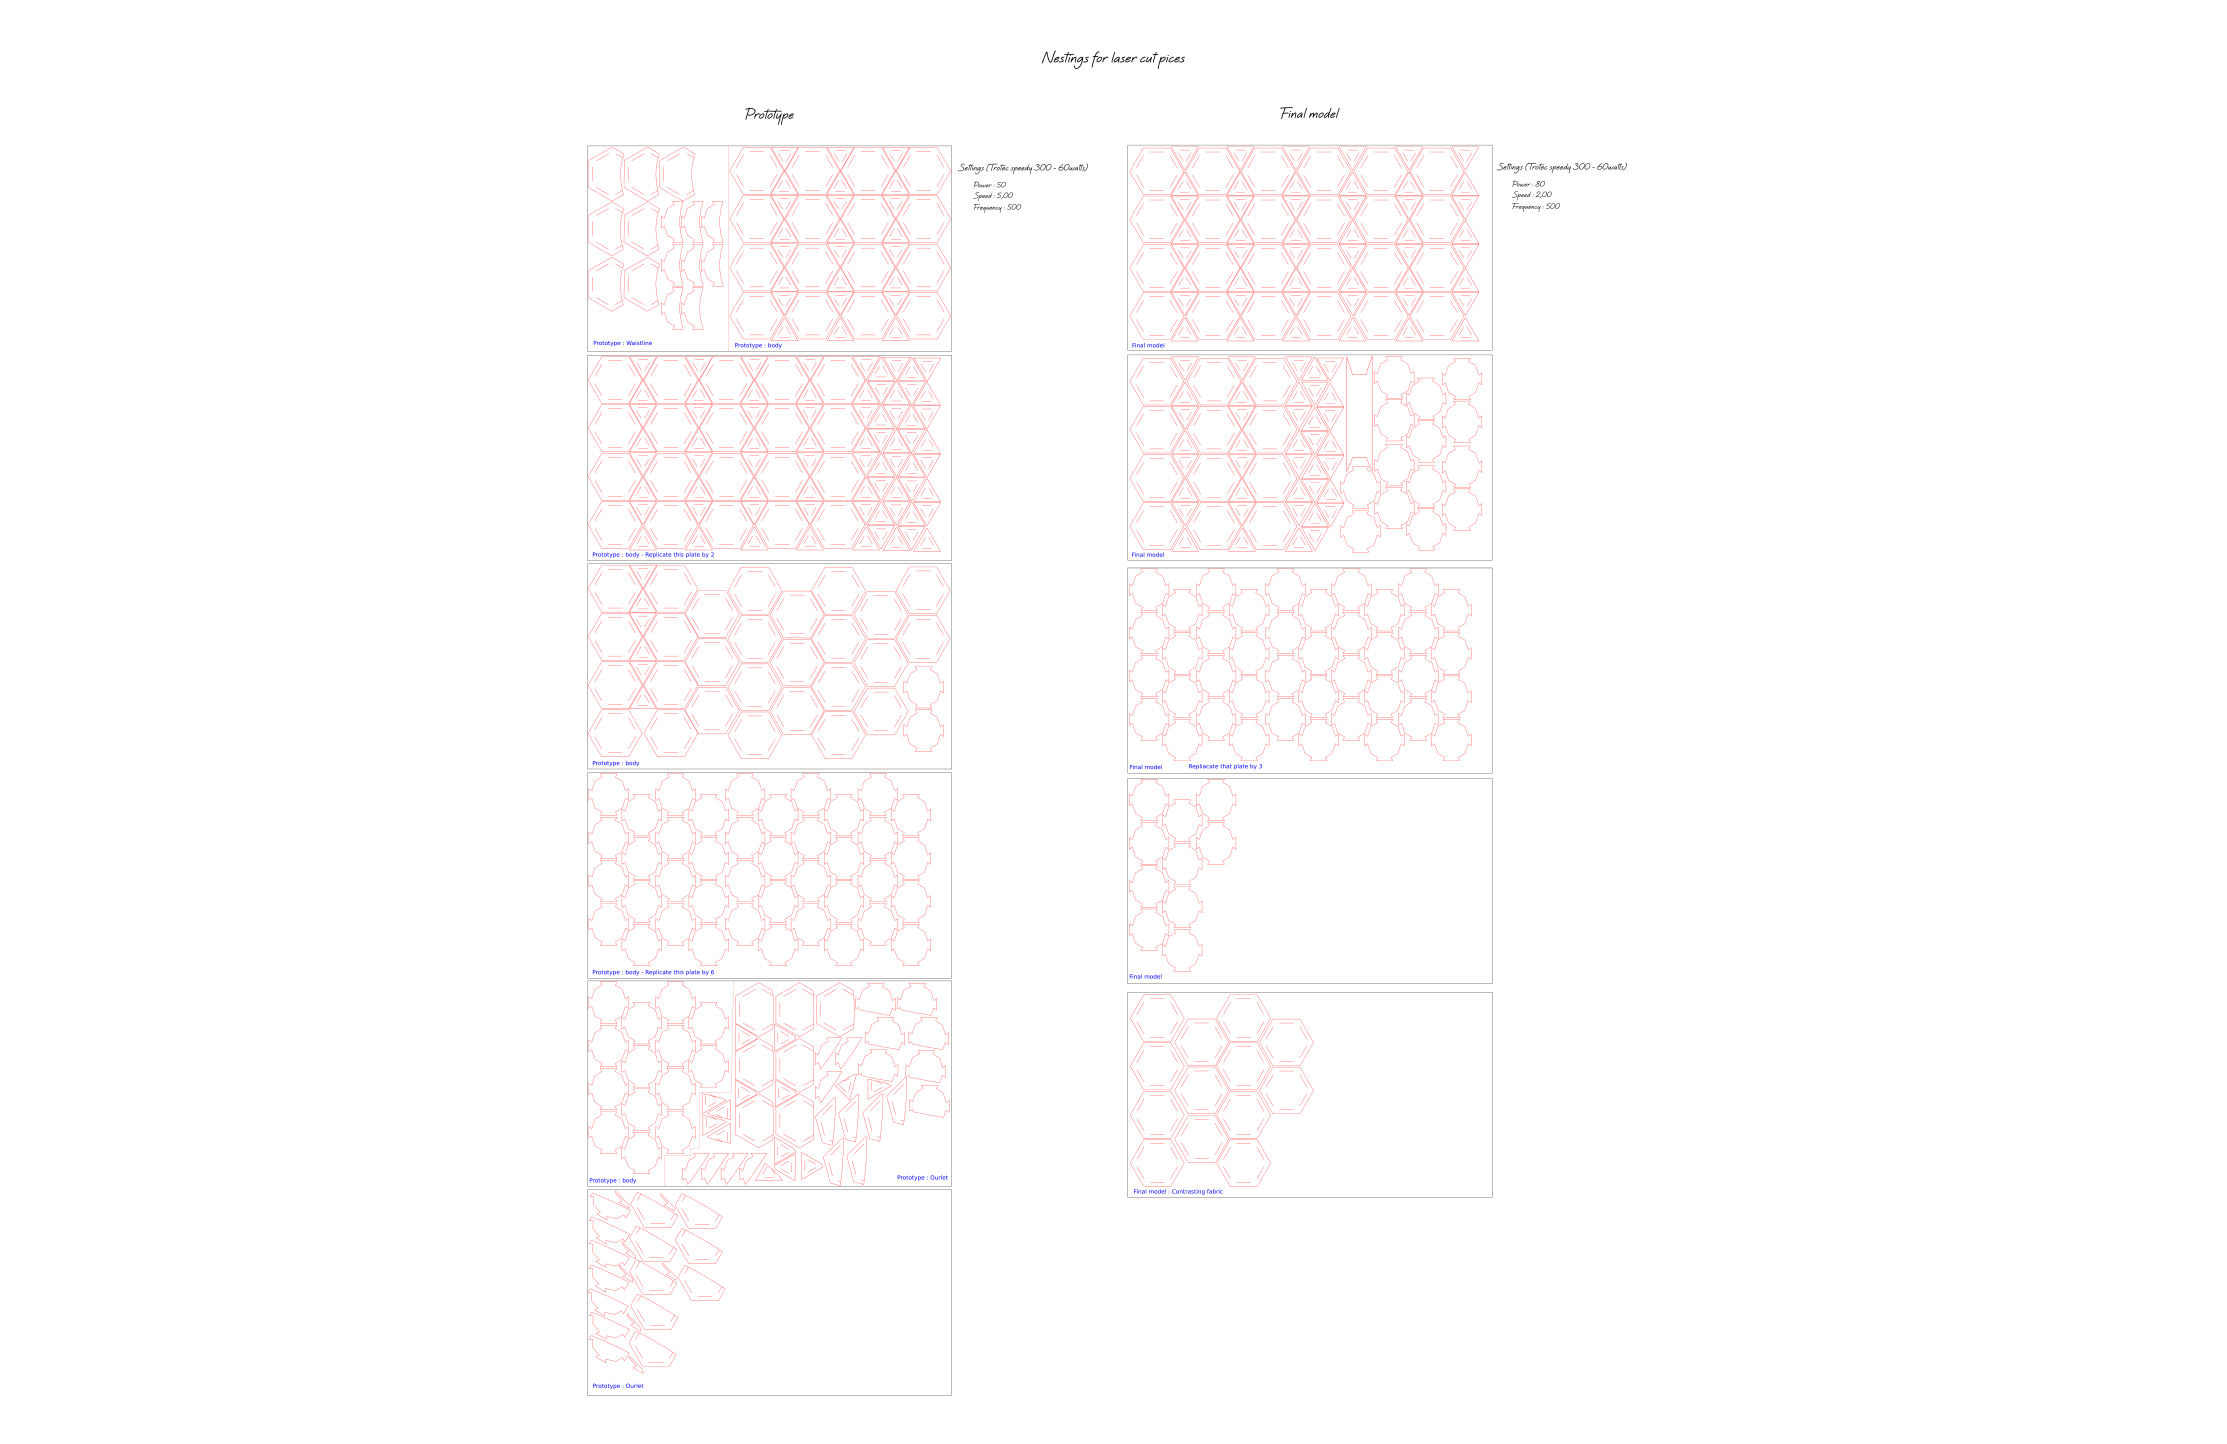
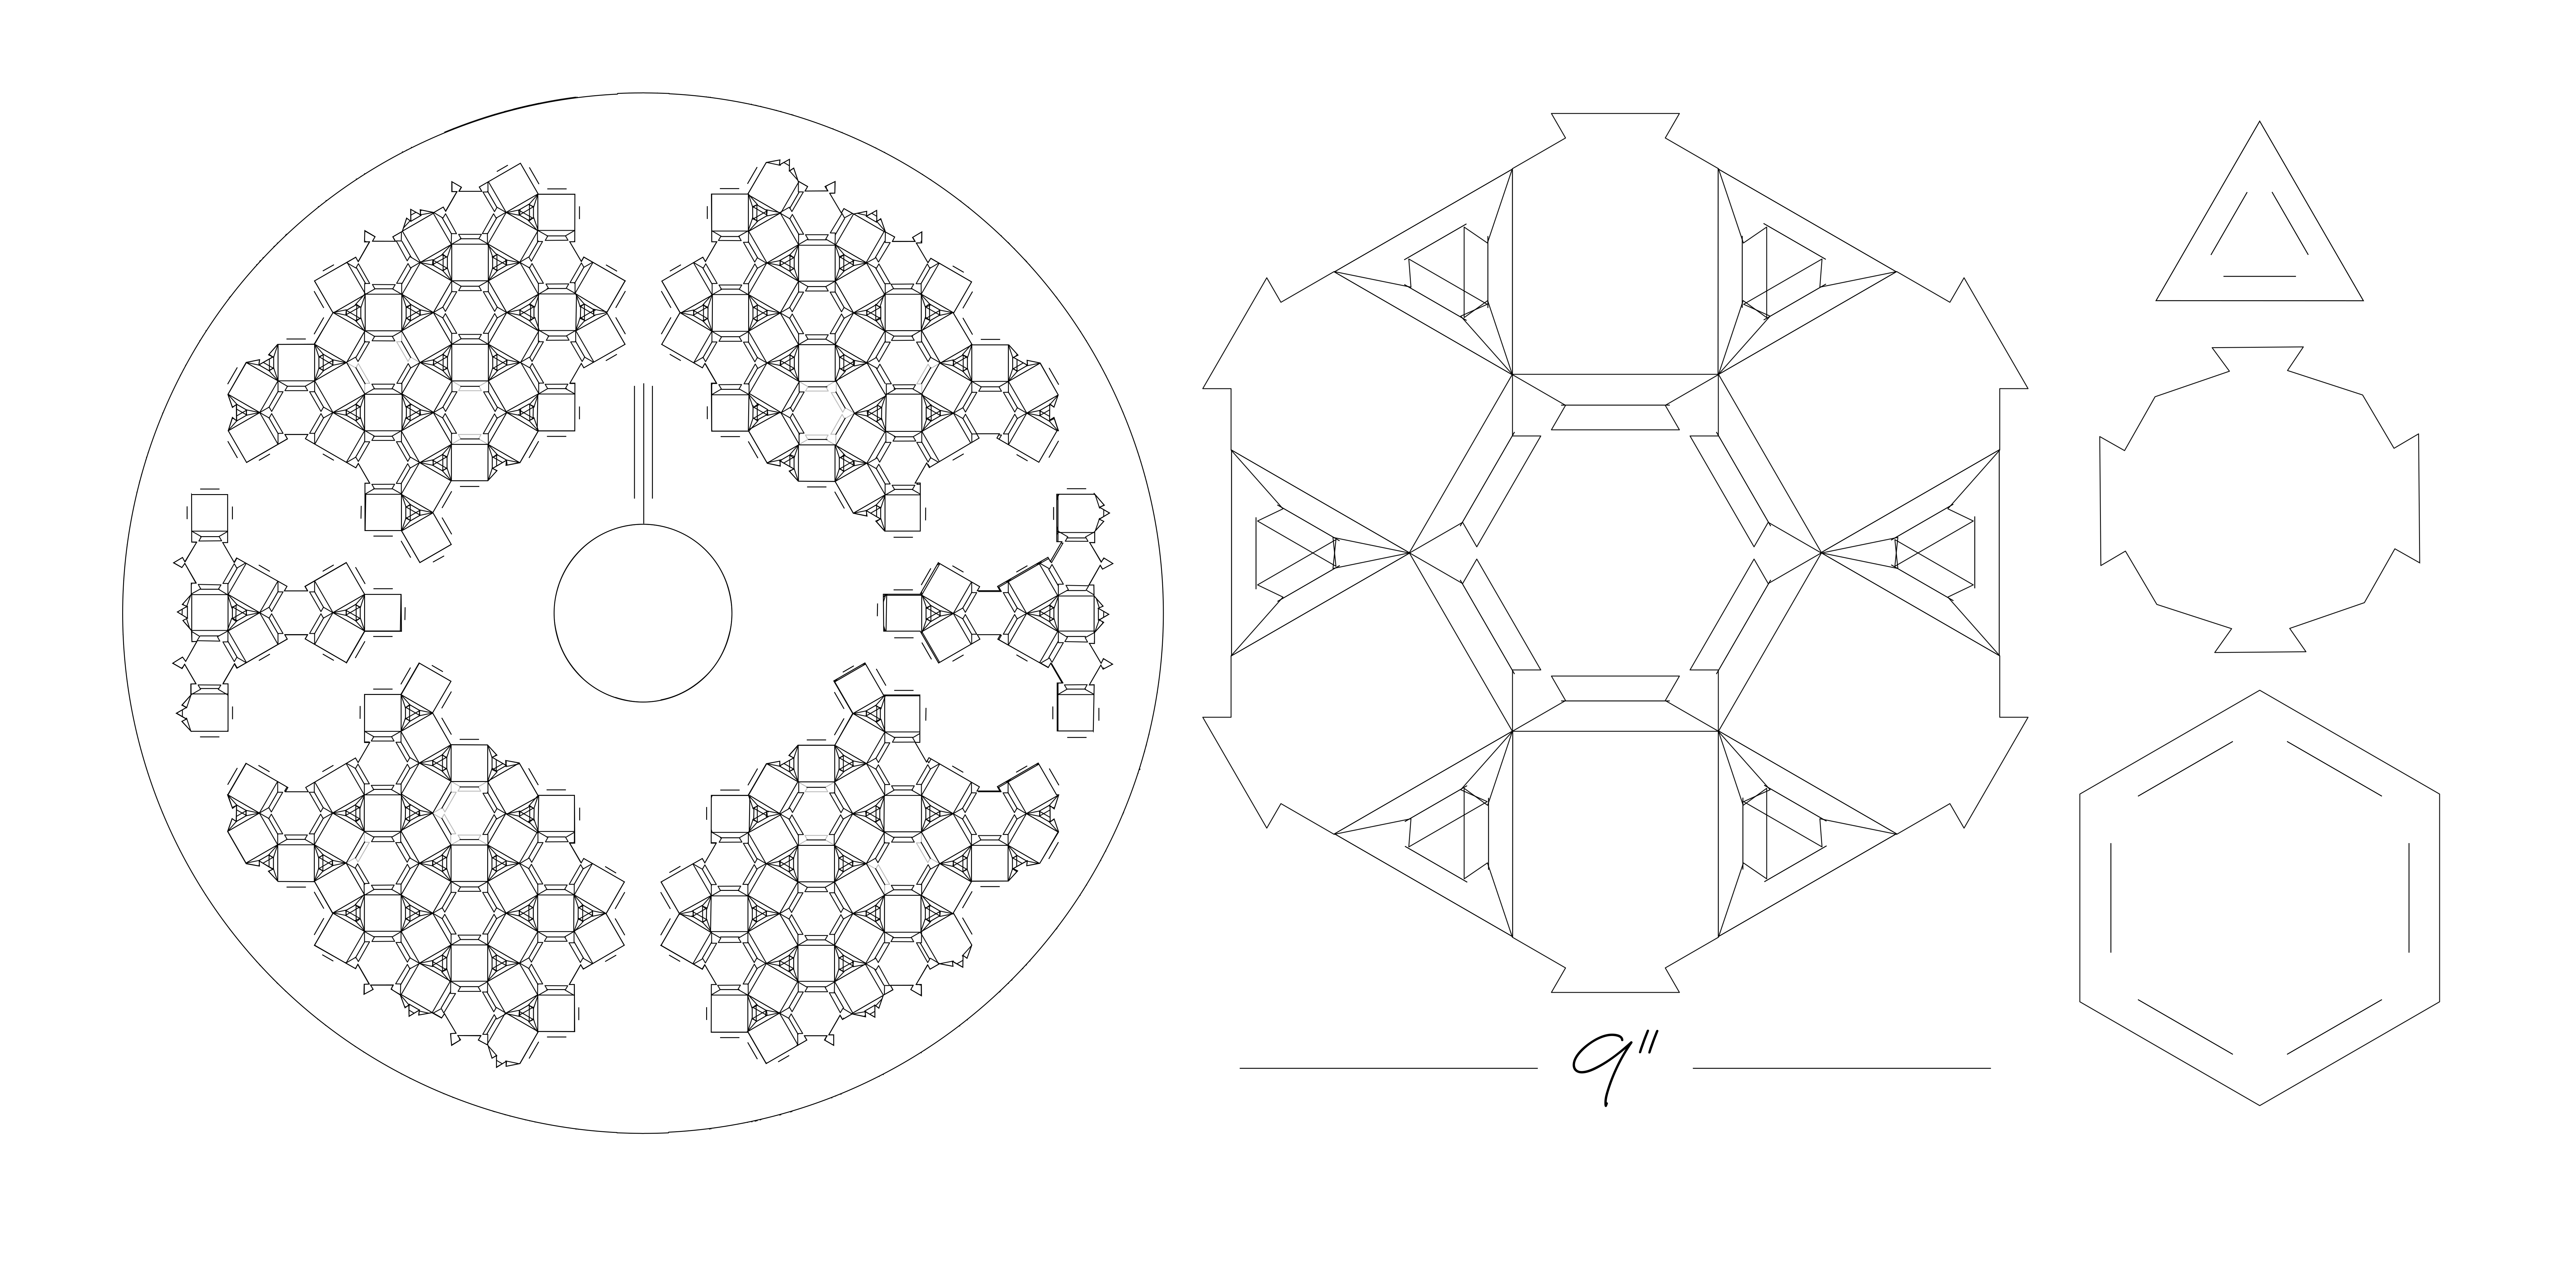
Finally, we were asked to prepare a guide for users, as an opensource project, to try to make the project and then to give feedback. Here's mine! I hope you'll have fun with the concept! You'll find everything you need to make it. Here's a peek at what you'll find. The files are in real size, so no scaling is necessary.
