This week as definitely been inspirational! All those applications vision for the future. But what's even more interesting is that I'll have to integrate what I learn this week in my final project! Isn't it awesome! There will be a cape made of bioplastic so I'll make my tests for that within the context of this week assignment. Regarding the dyes, I'll dye the bio-plastic with hibiscus flower but I'm not going to need the whole process with mordant and everything so I'll make samples with another ingredient. I'll try the madder.
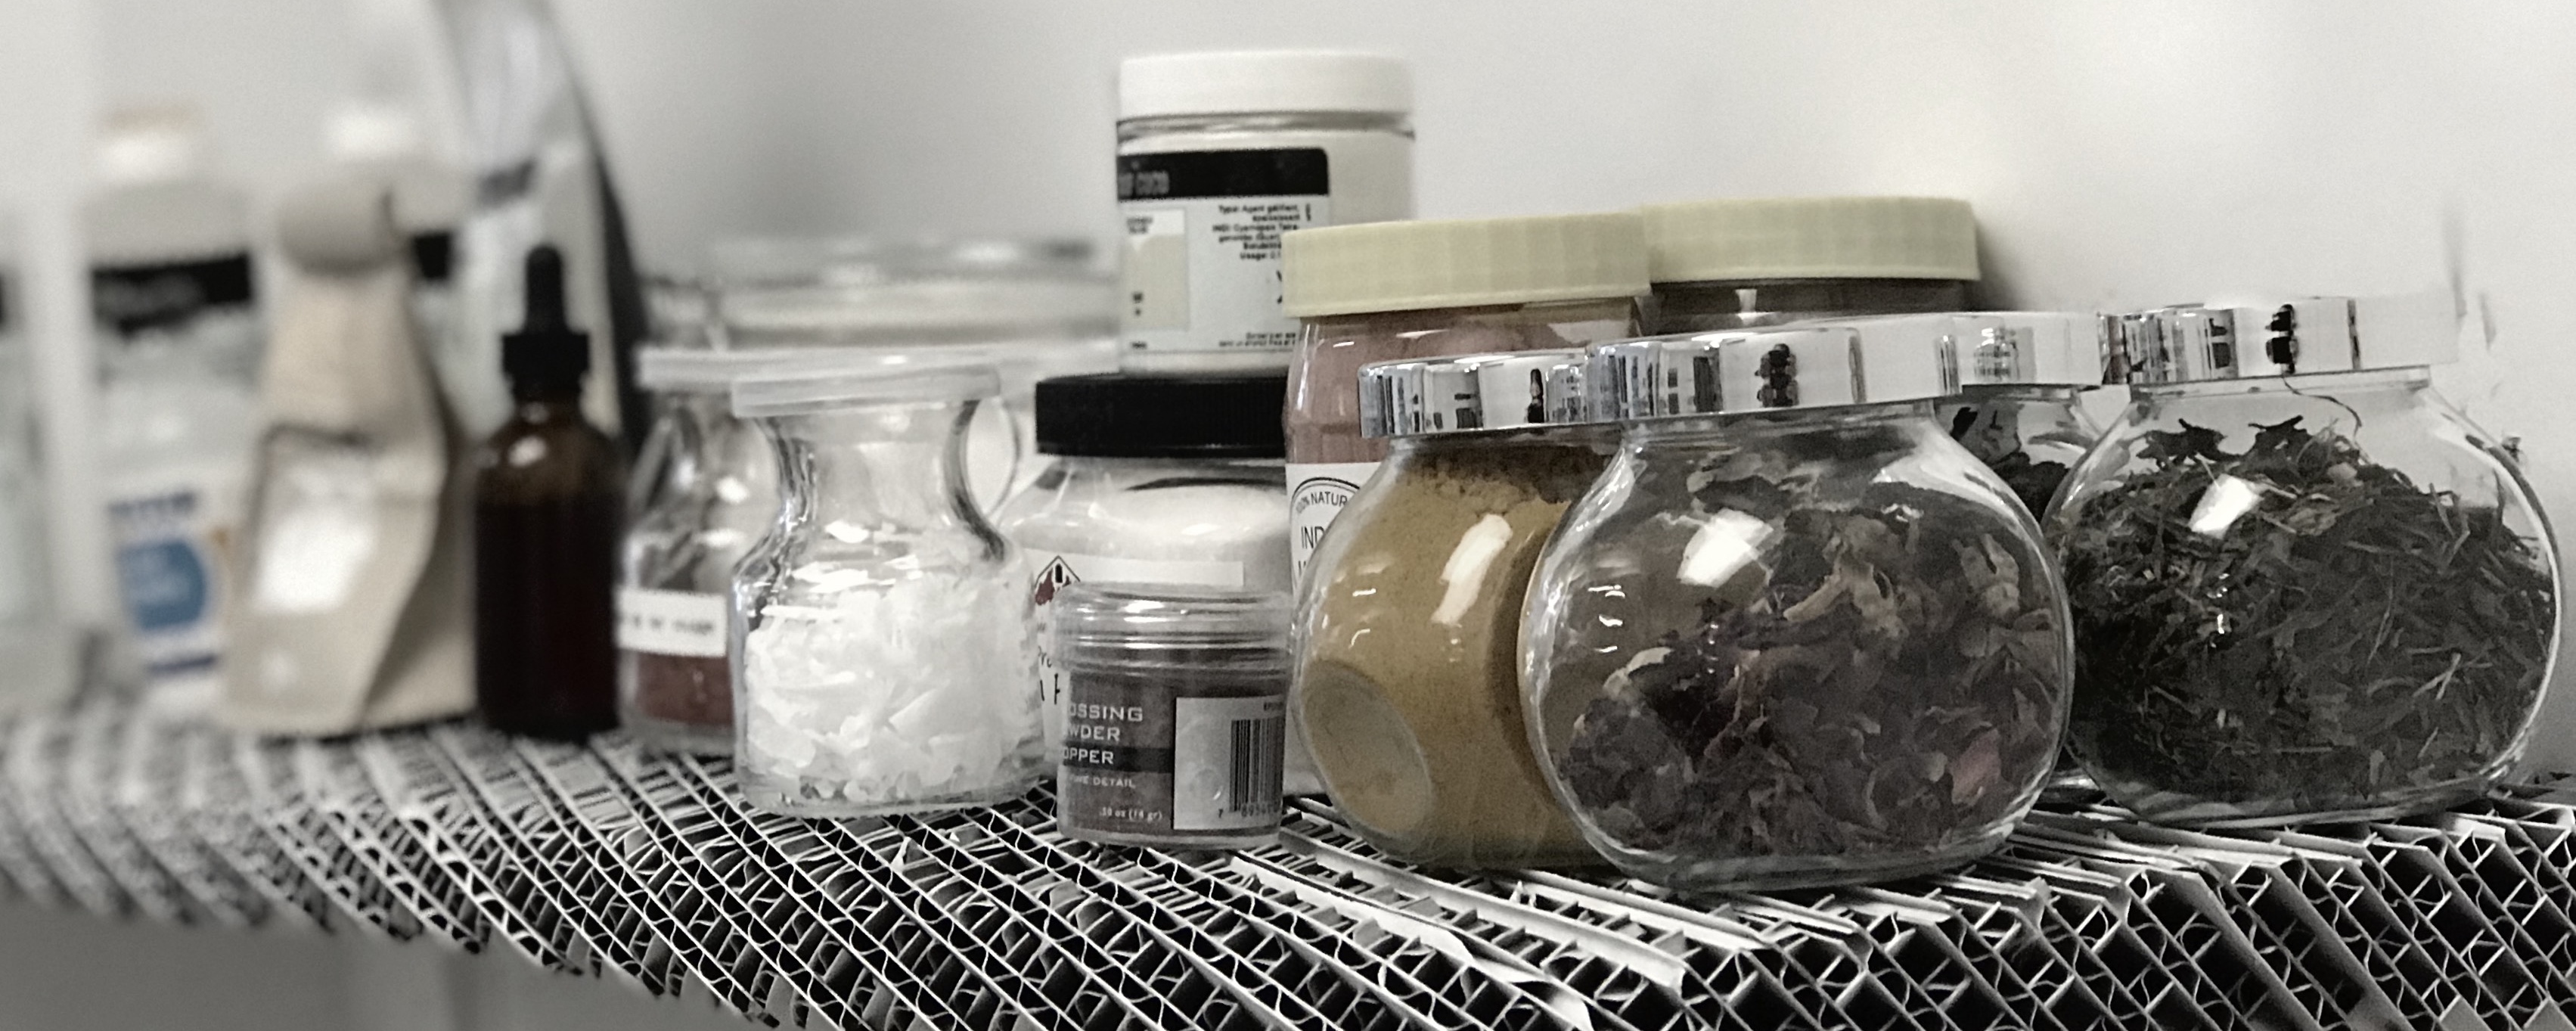
Dyes
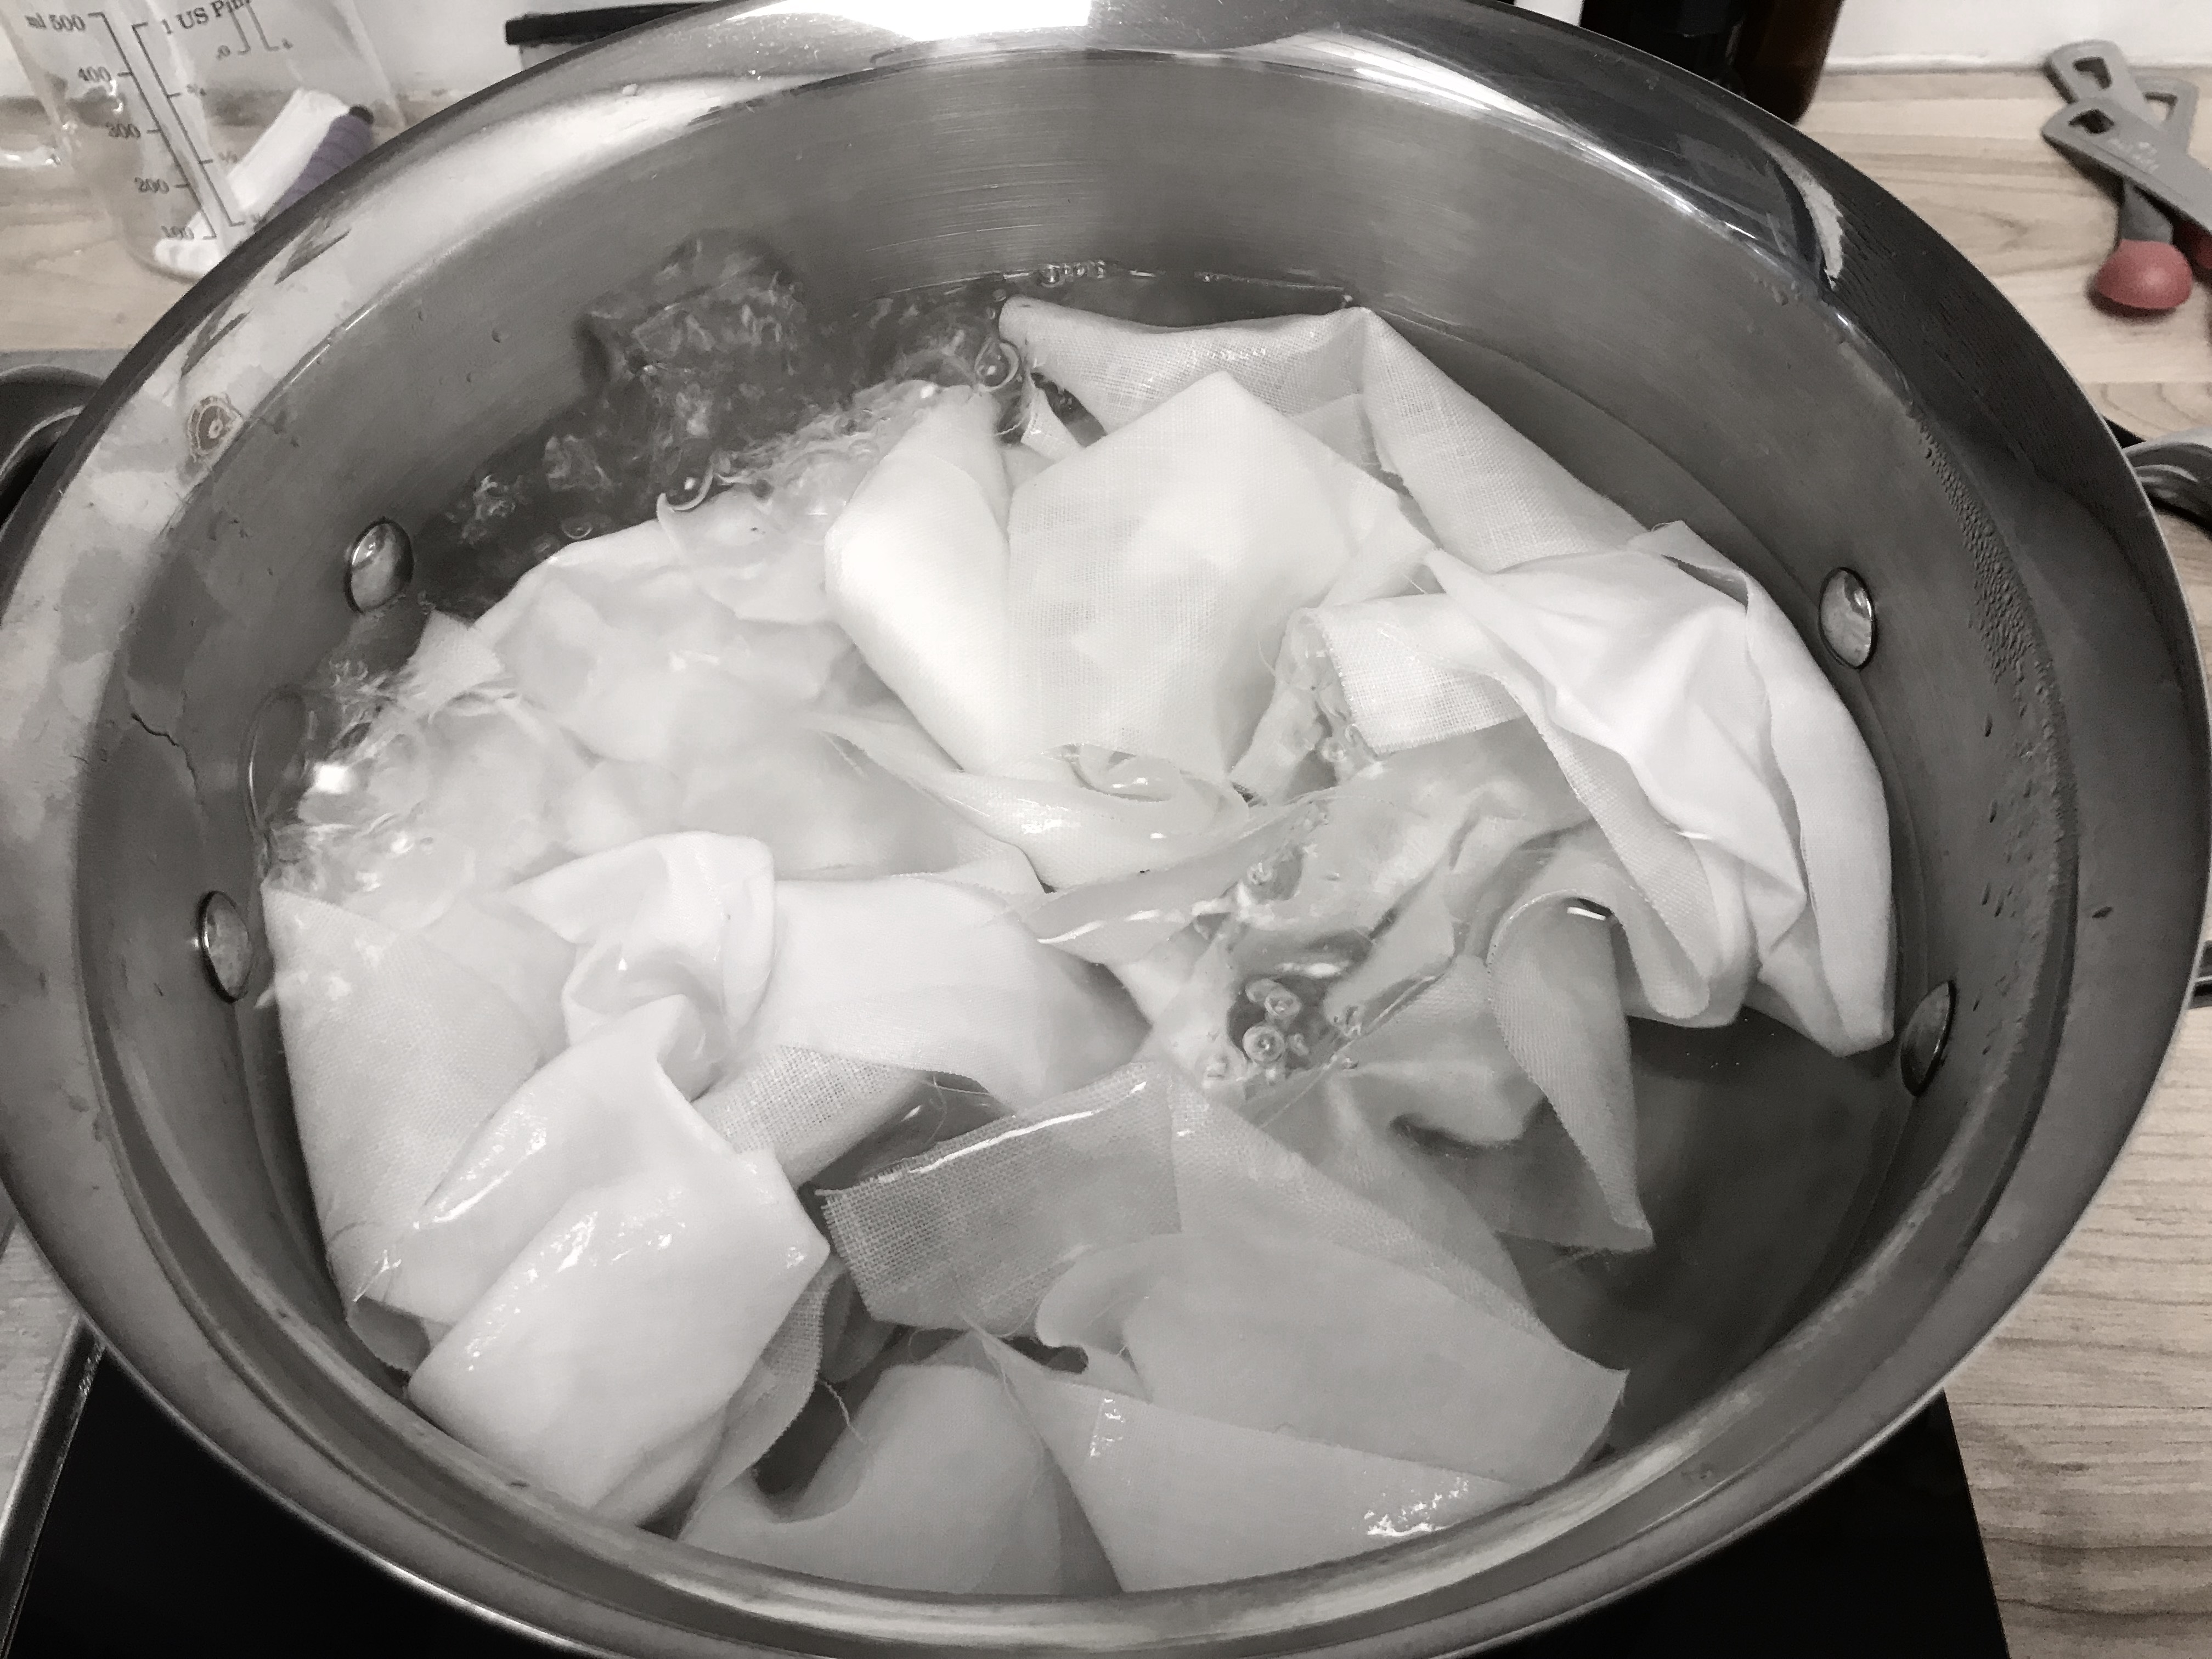
1. Preparing the fabric
Well, as suggested in the tutorial, it is very important to prepare the fabrics to be dyed by removing the wax and natural oil that are within. This is even more important when using vegetal fabric and this is what I'm using: Linen and cotton, my two favorite textiles.
What's needed ? :
- 4 liter water;
- 2 spoons of sodium carbonate;
- Let it boil an hour.
2. Mordant
As for the mordant, I chose to work with alum as it is recommended with natural fibers. Then, it's important to weight the fabric that you want to dye so put the right amount of alum in the water. I'm my case, I have 100grs. of fabric. In the tutorial, it's recommended to put about 15% of the fabric's weight in alum. In my case it makes 15grs. of it that it dissolved in enough water to cover the whole fabric. I let it submerge in the solution while I was preparing the dye. Like about 20 minutes maybe. I'm not going to put a picture for this step because well ... it's still a bunch if the material in clear water.
3. The actual dye
I decided to try the dyeing process with madder, that by the way smells like shit! So, I poured enough madder in hot water until it was dark enough to my taste and made it boil. Then, I put the fabrics in it and prepared the other phase while I let it cook.

4. Results by modifiers
While the fabrics were in the dyeing solution, I prepared 5 modfiers and one with no modifier to test with both cotton and linen :
4.1 Citric Acid (5 to 10 min)
Overall the citric acid mix work well but I think I'd make it a little stronger next time.

4.2 Copper (10 to 20 min)
I'd say the same commentary for the copper mixture. We see the difference, but it's still a little similar to me.

4.3 Alkaline (5 to 10 min)
The Alkaline mixture made it browner I think. Deducting from the tutorials shouldn't it be redder? ...

4.4 Iron (5 min)
Yep, I guess it is browner.
4.6 Cold water (0 min)
The original. I'll say that overall, they are different but I was expecting a little bit more. I'd like to adjust my portion to make stronger colors.
Bioplastics
What about the bioplastic? Well, as I said I'll made the test for my final project. So here's the model just to put you in context.
Considering that sketch, there's four dimension of the testing process I need to look at :
- 1. The recipe;
- 2. The integration of LED and electronics;
- 3.The strength of it.
1. The recipe
Regarding the recipe, my mentor helped me a little bit giving me a basic recipe that I can modify for harder or softer plastics. I used almost the same, as I had the opportunity to look around the Web a little, I realized that for the texture I need, I had to put a little more gelatine that prescribed but nothing more. Basicaly it's :
- 300ml of water;
- 30grs of vegetal glycerine;
- 30grs of powdered gelatine;
- 1gr of wax;
- 1.5gr of rose's petals;
- A the bag full of hibicus flowers;
- Two LEDs monted on conductive fabric and conductive thread.
I poured all the ingredient in a pot and heat it without boiling it as it's recommended. Then, I poured it into a mold, submerged the LED and let it dry.
I just had a little problem with my gelatine at first. I went to a store and asked for gelatine and they gave me candle gel. I thought it was good but it didn't mix with the water and the other ingredients. I made a disgusting and ugly paste with this one. I went to the supermarket and bought powdered gelatine without flavor and it worked better.
After 2hours, the result was perfect in my opinion! Giggling just enough but I had the feeling that it might be too fragile to sew it. I might have to think about glue options. The, after leaving them dry overnight, I thought that the texture was still great and felt much stronger but enough? I still didn't know. I'll definitely need strength tests.
Overall, I'm satisfied enough of the recipe. The only thing I don't like about it is that the edges, more specifically the corners, dried a lot more and they shrank a little bit. I'll have to consider that when choosing the right technic for the cape making.
Overnight ...
2. The integration of LED and electronics
While pouring the mixture in the molds, I wanted to test the integration of specific LEDs. The thing is that the "lilypad" LEDs are to way to big and mounted on a purple board. They're really hard to hide in textile, soft or transparent material. When doing wearable I usually prepare SMD LEDs myself mounting them on lasercut conductive fabric like the sketch below. But, as they are not protected or waterproof in any way, I was wondering if they'd survive being cast inside the liquid plastic. I began to try to think many solutions put before all that, I thought I should test them.
Well, after letting the whole thing dry well, the LEDs still worked! What an amazing new as it was the best way to have nice and hidden light feature in (not on) my garment. But we'll agree that the LEDs should be a pale white instead of red. The red is definitely a disgusting chose, I found it hideous.
3. The strenght of it
The last question is definitely to figure how to glue the whole thing together and make it become wearable. Is it strong enough to be pierced and to hold thread? Let's see that first and if the result is negative, I'll try some glue options, but I'd like it to be sewed.
Just as I thought, the plastic is too fragile to be sewed It like trying to sew a kind of hard Jello dessert. The thread passed so easily that I think that even with the thicker thread, I would not be able to sew it nicely. I'll need to glue it. I first tried with crazy glue and it didn't work. So I tried with rubber contact glue and it worked well. What I don't like about it is that I'll glue nice bio-died bioplastics with the most chemical and disgusting product. Damn!